
Page 214 - Enhancing CAD Drawings with Photoshop
P. 214
4386.book Page 198 Monday, November 15, 2004 3:27 PM
198 CHAPTER 6 ELEVATING THE ELEVATION
5. Click the Field Stone color swatch in the Swatches palette. Select the Paint Bucket tool from the
toolbox (it may be hidden under the Gradient tool). On the Options bar, set the Fill drop-down
to Foreground, set Tolerance to 1, uncheck Anti-aliased, check Contiguous, and check Use All
Layers.
NOTE You’ll use these same settings for the Paint Bucket throughout this chapter unless otherwise
noted.
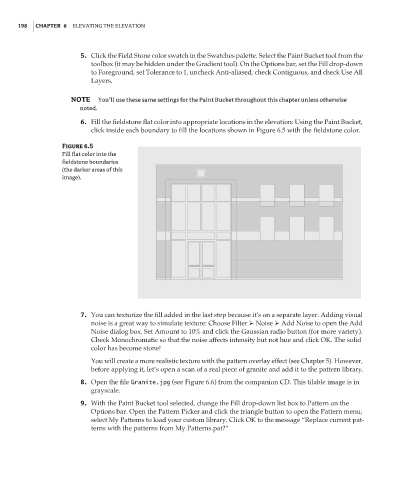
6. Fill the fieldstone flat color into appropriate locations in the elevation: Using the Paint Bucket,
click inside each boundary to fill the locations shown in Figure 6.5 with the fieldstone color.
Figure 6.5
Fill flat color into the
fieldstone boundaries
(the darker areas of this
image).
7. You can texturize the fill added in the last step because it’s on a separate layer. Adding visual
noise is a great way to simulate texture: Choose Filter Noise Add Noise to open the Add
Noise dialog box. Set Amount to 10% and click the Gaussian radio button (for more variety).
Check Monochromatic so that the noise affects intensity but not hue and click OK. The solid
color has become stone!
You will create a more realistic texture with the pattern overlay effect (see Chapter 5). However,
before applying it, let’s open a scan of a real piece of granite and add it to the pattern library.
8. Open the file Granite.jpg (see Figure 6.6) from the companion CD. This tilable image is in
grayscale.
9. With the Paint Bucket tool selected, change the Fill drop-down list box to Pattern on the
Options bar. Open the Pattern Picker and click the triangle button to open the Pattern menu;
select My Patterns to load your custom library. Click OK to the message “Replace current pat-
terns with the patterns from My Patterns.pat?”