
Page 219 - Enhancing CAD Drawings with Photoshop
P. 219
4386.book Page 203 Monday, November 15, 2004 3:27 PM
SIMULATING TEXTURE 203
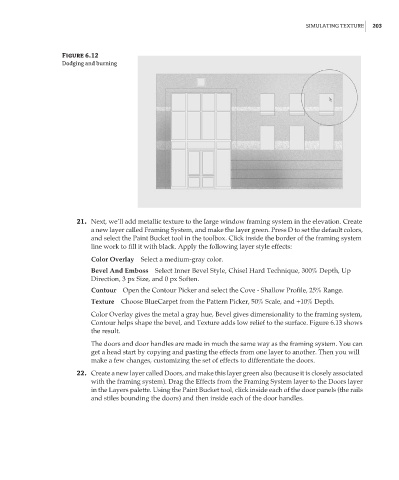
Figure 6.12
Dodging and burning
21. Next, we’ll add metallic texture to the large window framing system in the elevation. Create
a new layer called Framing System, and make the layer green. Press D to set the default colors,
and select the Paint Bucket tool in the toolbox. Click inside the border of the framing system
line work to fill it with black. Apply the following layer style effects:
Color Overlay Select a medium-gray color.
Bevel And Emboss Select Inner Bevel Style, Chisel Hard Technique, 300% Depth, Up
Direction, 3 px Size, and 0 px Soften.
Contour Open the Contour Picker and select the Cove - Shallow Profile, 25% Range.
Texture Choose BlueCarpet from the Pattern Picker, 50% Scale, and +10% Depth.
Color Overlay gives the metal a gray hue, Bevel gives dimensionality to the framing system,
Contour helps shape the bevel, and Texture adds low relief to the surface. Figure 6.13 shows
the result.
The doors and door handles are made in much the same way as the framing system. You can
get a head start by copying and pasting the effects from one layer to another. Then you will
make a few changes, customizing the set of effects to differentiate the doors.
22. Create a new layer called Doors, and make this layer green also (because it is closely associated
with the framing system). Drag the Effects from the Framing System layer to the Doors layer
in the Layers palette. Using the Paint Bucket tool, click inside each of the door panels (the rails
and stiles bounding the doors) and then inside each of the door handles.