
Page 223 - Enhancing CAD Drawings with Photoshop
P. 223
4386.book Page 207 Monday, November 15, 2004 3:27 PM
CASTING SHADOWS 207
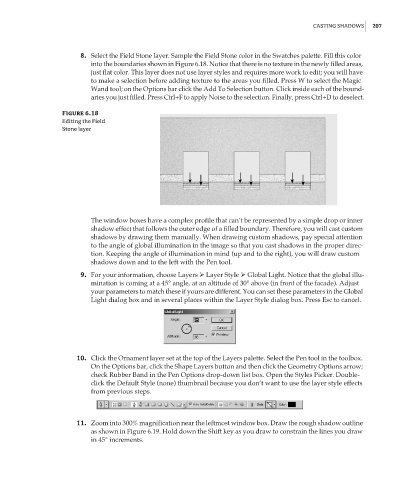
8. Select the Field Stone layer. Sample the Field Stone color in the Swatches palette. Fill this color
into the boundaries shown in Figure 6.18. Notice that there is no texture in the newly filled areas,
just flat color. This layer does not use layer styles and requires more work to edit; you will have
to make a selection before adding texture to the areas you filled. Press W to select the Magic
Wand tool; on the Options bar click the Add To Selection button. Click inside each of the bound-
aries you just filled. Press Ctrl+F to apply Noise to the selection. Finally, press Ctrl+D to deselect.
Figure 6.18
Editing the Field
Stone layer
The window boxes have a complex profile that can’t be represented by a simple drop or inner
shadow effect that follows the outer edge of a filled boundary. Therefore, you will cast custom
shadows by drawing them manually. When drawing custom shadows, pay special attention
to the angle of global illumination in the image so that you cast shadows in the proper direc-
tion. Keeping the angle of illumination in mind (up and to the right), you will draw custom
shadows down and to the left with the Pen tool.
9. For your information, choose Layers Layer Style Global Light. Notice that the global illu-
mination is coming at a 45° angle, at an altitude of 30° above (in front of the facade). Adjust
your parameters to match these if yours are different. You can set these parameters in the Global
Light dialog box and in several places within the Layer Style dialog box. Press Esc to cancel.
10. Click the Ornament layer set at the top of the Layers palette. Select the Pen tool in the toolbox.
On the Options bar, click the Shape Layers button and then click the Geometry Options arrow;
check Rubber Band in the Pen Options drop-down list box. Open the Styles Picker. Double-
click the Default Style (none) thumbnail because you don’t want to use the layer style effects
from previous steps.
11. Zoom into 300% magnification near the leftmost window box. Draw the rough shadow outline
as shown in Figure 6.19. Hold down the Shift key as you draw to constrain the lines you draw
in 45° increments.