
Page 235 - Enhancing CAD Drawings with Photoshop
P. 235
4386.book Page 219 Monday, November 15, 2004 3:27 PM
ADDING ENTOURAGE 219
8. Apply a Drop Shadow layer style effect to the PlumTree layer. In the Layer Style dialog box,
set a 0 px Distance and a 2 px Size to generate crisp shadows that are directly behind the tree.
9. In the Layers palette, right-click the Drop Shadow effect under the PlumTree layer to open a
context menu; select Create Layer. A warning dialog box appears, informing you that some
effects cannot be reproduced with layers; click OK to close the dialog box.
10. In the Layers palette, click the PlumTree’s Drop Shadow that was just generated in the previ-
ous step. Change the opacity of this layer to 40% to dim the shadows a bit (see Figure 6.35).
Figure 6.35
Lighten the tree’s
shadow by using the
layer Opacity setting.
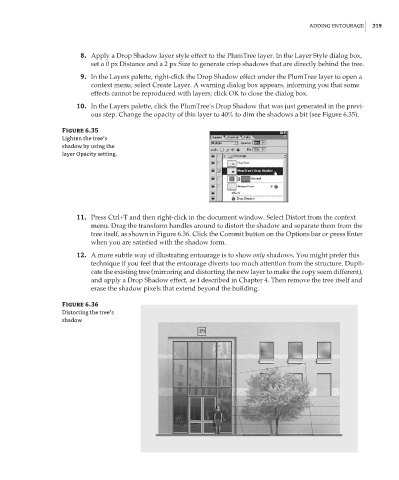
11. Press Ctrl+T and then right-click in the document window. Select Distort from the context
menu. Drag the transform handles around to distort the shadow and separate them from the
tree itself, as shown in Figure 6.36. Click the Commit button on the Options bar or press Enter
when you are satisfied with the shadow form.
12. A more subtle way of illustrating entourage is to show only shadows. You might prefer this
technique if you feel that the entourage diverts too much attention from the structure. Dupli-
cate the existing tree (mirroring and distorting the new layer to make the copy seem different),
and apply a Drop Shadow effect, as I described in Chapter 4. Then remove the tree itself and
erase the shadow pixels that extend beyond the building.
Figure 6.36
Distorting the tree’s
shadow