
Page 245 - Enhancing CAD Drawings with Photoshop
P. 245
4386.book Page 229 Monday, November 15, 2004 3:27 PM
RENDERING IN AUTODESK VIZ 229
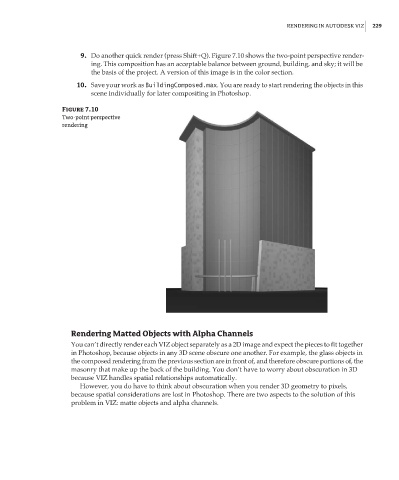
9. Do another quick render (press Shift+Q). Figure 7.10 shows the two-point perspective render-
ing. This composition has an acceptable balance between ground, building, and sky; it will be
the basis of the project. A version of this image is in the color section.
10. Save your work as BuildingComposed.max. You are ready to start rendering the objects in this
scene individually for later compositing in Photoshop.
Figure 7.10
Two-point perspective
rendering
Rendering Matted Objects with Alpha Channels
You can’t directly render each VIZ object separately as a 2D image and expect the pieces to fit together
in Photoshop, because objects in any 3D scene obscure one another. For example, the glass objects in
the composed rendering from the previous section are in front of, and therefore obscure portions of, the
masonry that make up the back of the building. You don’t have to worry about obscuration in 3D
because VIZ handles spatial relationships automatically.
However, you do have to think about obscuration when you render 3D geometry to pixels,
because spatial considerations are lost in Photoshop. There are two aspects to the solution of this
problem in VIZ: matte objects and alpha channels.