
Page 248 - Enhancing CAD Drawings with Photoshop
P. 248
4386.book Page 232 Monday, November 15, 2004 3:27 PM
232 CHAPTER 7 CREATIVE COMPOSITING
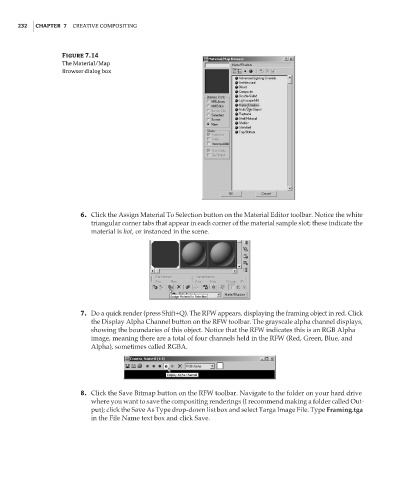
Figure 7.14
The Material/Map
Browser dialog box
6. Click the Assign Material To Selection button on the Material Editor toolbar. Notice the white
triangular corner tabs that appear in each corner of the material sample slot; these indicate the
material is hot, or instanced in the scene.
7. Do a quick render (press Shift+Q). The RFW appears, displaying the framing object in red. Click
the Display Alpha Channel button on the RFW toolbar. The grayscale alpha channel displays,
showing the boundaries of this object. Notice that the RFW indicates this is an RGB Alpha
image, meaning there are a total of four channels held in the RFW (Red, Green, Blue, and
Alpha), sometimes called RGBA.
8. Click the Save Bitmap button on the RFW toolbar. Navigate to the folder on your hard drive
where you want to save the compositing renderings (I recommend making a folder called Out-
put); click the Save As Type drop-down list box and select Targa Image File. Type Framing.tga
in the File Name text box and click Save.