
Page 252 - Enhancing CAD Drawings with Photoshop
P. 252
4386.book Page 236 Monday, November 15, 2004 3:27 PM
236 CHAPTER 7 CREATIVE COMPOSITING
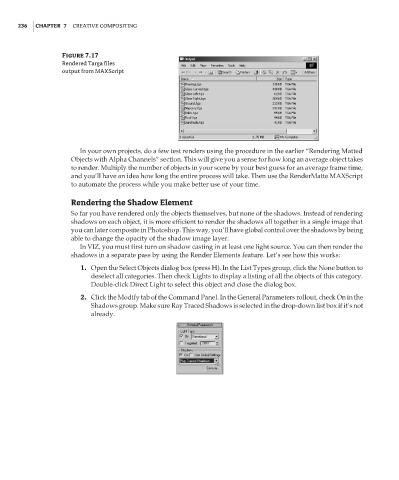
Figure 7.17
Rendered Targa files
output from MAXScript
In your own projects, do a few test renders using the procedure in the earlier “Rendering Matted
Objects with Alpha Channels” section. This will give you a sense for how long an average object takes
to render. Multiply the number of objects in your scene by your best guess for an average frame time,
and you’ll have an idea how long the entire process will take. Then use the RenderMatte MAXScript
to automate the process while you make better use of your time.
Rendering the Shadow Element
So far you have rendered only the objects themselves, but none of the shadows. Instead of rendering
shadows on each object, it is more efficient to render the shadows all together in a single image that
you can later composite in Photoshop. This way, you’ll have global control over the shadows by being
able to change the opacity of the shadow image layer.
In VIZ, you must first turn on shadow casting in at least one light source. You can then render the
shadows in a separate pass by using the Render Elements feature. Let’s see how this works:
1. Open the Select Objects dialog box (press H). In the List Types group, click the None button to
deselect all categories. Then check Lights to display a listing of all the objects of this category.
Double-click Direct Light to select this object and close the dialog box.
2. Click the Modify tab of the Command Panel. In the General Parameters rollout, check On in the
Shadows group. Make sure Ray Traced Shadows is selected in the drop-down list box if it’s not
already.