
Page 253 - Enhancing CAD Drawings with Photoshop
P. 253
4386.book Page 237 Monday, November 15, 2004 3:27 PM
RENDERING IN AUTODESK VIZ 237
TIP Ray traced shadows are the most accurate casting algorithm, and they show crisp edges.
3. Open the Render Scene dialog box (press F10). Click the Render Elements tab. Click the Add
button and select Shadow from the list of elements (if not already present). Make sure Enable
is checked.
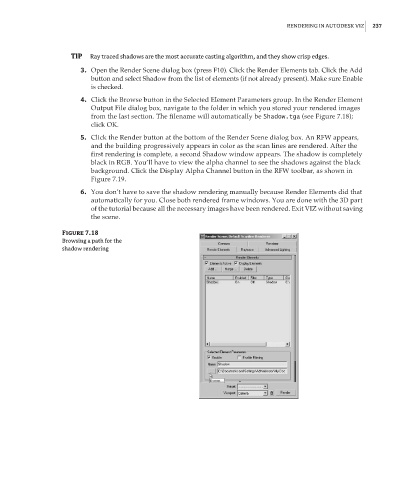
4. Click the Browse button in the Selected Element Parameters group. In the Render Element
Output File dialog box, navigate to the folder in which you stored your rendered images
from the last section. The filename will automatically be Shadow.tga (see Figure 7.18);
click OK.
5. Click the Render button at the bottom of the Render Scene dialog box. An RFW appears,
and the building progressively appears in color as the scan lines are rendered. After the
first rendering is complete, a second Shadow window appears. The shadow is completely
black in RGB. You’ll have to view the alpha channel to see the shadows against the black
background. Click the Display Alpha Channel button in the RFW toolbar, as shown in
Figure 7.19.
6. You don’t have to save the shadow rendering manually because Render Elements did that
automatically for you. Close both rendered frame windows. You are done with the 3D part
of the tutorial because all the necessary images have been rendered. Exit VIZ without saving
the scene.
Figure 7.18
Browsing a path for the
shadow rendering