
Page 254 - Enhancing CAD Drawings with Photoshop
P. 254
4386c07.fm Page 238 Tuesday, November 16, 2004 7:53 AM
238 CHAPTER 7 CREATIVE COMPOSITING
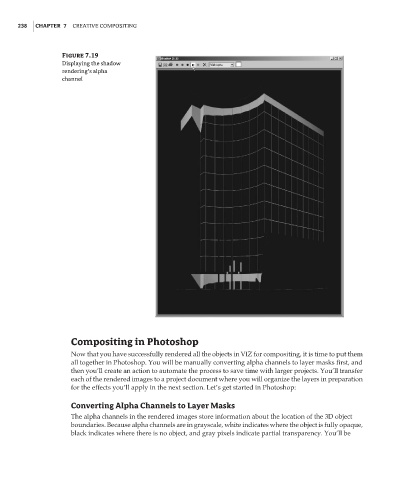
Figure 7.19
Displaying the shadow
rendering’s alpha
channel
Compositing in Photoshop
Now that you have successfully rendered all the objects in VIZ for compositing, it is time to put them
all together in Photoshop. You will be manually converting alpha channels to layer masks first, and
then you’ll create an action to automate the process to save time with larger projects. You’ll transfer
each of the rendered images to a project document where you will organize the layers in preparation
for the effects you’ll apply in the next section. Let’s get started in Photoshop:
Converting Alpha Channels to Layer Masks
The alpha channels in the rendered images store information about the location of the 3D object
boundaries. Because alpha channels are in grayscale, white indicates where the object is fully opaque,
black indicates where there is no object, and gray pixels indicate partial transparency. You’ll be