
Page 256 - Enhancing CAD Drawings with Photoshop
P. 256
4386.book Page 240 Monday, November 15, 2004 3:27 PM
240 CHAPTER 7 CREATIVE COMPOSITING
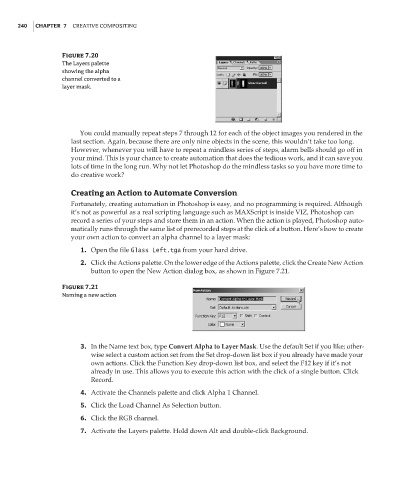
Figure 7.20
The Layers palette
showing the alpha
channel converted to a
layer mask.
You could manually repeat steps 7 through 12 for each of the object images you rendered in the
last section. Again, because there are only nine objects in the scene, this wouldn’t take too long.
However, whenever you will have to repeat a mindless series of steps, alarm bells should go off in
your mind. This is your chance to create automation that does the tedious work, and it can save you
lots of time in the long run. Why not let Photoshop do the mindless tasks so you have more time to
do creative work?
Creating an Action to Automate Conversion
Fortunately, creating automation in Photoshop is easy, and no programming is required. Although
it’s not as powerful as a real scripting language such as MAXScript is inside VIZ, Photoshop can
record a series of your steps and store them in an action. When the action is played, Photoshop auto-
matically runs through the same list of prerecorded steps at the click of a button. Here’s how to create
your own action to convert an alpha channel to a layer mask:
1. Open the file Glass Left.tga from your hard drive.
2. Click the Actions palette. On the lower edge of the Actions palette, click the Create New Action
button to open the New Action dialog box, as shown in Figure 7.21.
Figure 7.21
Naming a new action
3. In the Name text box, type Convert Alpha to Layer Mask. Use the default Set if you like; other-
wise select a custom action set from the Set drop-down list box if you already have made your
own actions. Click the Function Key drop-down list box, and select the F12 key if it’s not
already in use. This allows you to execute this action with the click of a single button. Click
Record.
4. Activate the Channels palette and click Alpha 1 Channel.
5. Click the Load Channel As Selection button.
6. Click the RGB channel.
7. Activate the Layers palette. Hold down Alt and double-click Background.