
Page 260 - Enhancing CAD Drawings with Photoshop
P. 260
4386.book Page 244 Monday, November 15, 2004 3:27 PM
244 CHAPTER 7 CREATIVE COMPOSITING
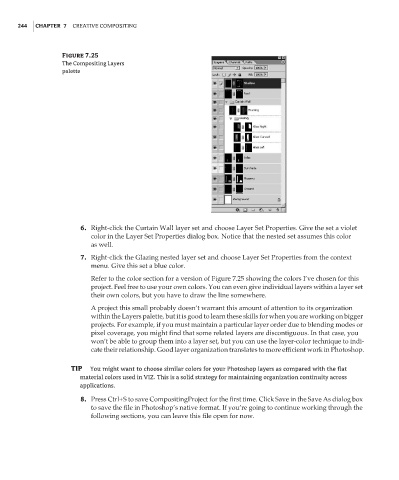
Figure 7.25
The Compositing Layers
palette
6. Right-click the Curtain Wall layer set and choose Layer Set Properties. Give the set a violet
color in the Layer Set Properties dialog box. Notice that the nested set assumes this color
as well.
7. Right-click the Glazing nested layer set and choose Layer Set Properties from the context
menu. Give this set a blue color.
Refer to the color section for a version of Figure 7.25 showing the colors I’ve chosen for this
project. Feel free to use your own colors. You can even give individual layers within a layer set
their own colors, but you have to draw the line somewhere.
A project this small probably doesn’t warrant this amount of attention to its organization
within the Layers palette, but it is good to learn these skills for when you are working on bigger
projects. For example, if you must maintain a particular layer order due to blending modes or
pixel coverage, you might find that some related layers are discontiguous. In that case, you
won’t be able to group them into a layer set, but you can use the layer-color technique to indi-
cate their relationship. Good layer organization translates to more efficient work in Photoshop.
TIP You might want to choose similar colors for your Photoshop layers as compared with the flat
material colors used in VIZ. This is a solid strategy for maintaining organization continuity across
applications.
8. Press Ctrl+S to save CompositingProject for the first time. Click Save in the Save As dialog box
to save the file in Photoshop’s native format. If you’re going to continue working through the
following sections, you can leave this file open for now.