
Page 265 - Enhancing CAD Drawings with Photoshop
P. 265
4386.book Page 249 Monday, November 15, 2004 3:27 PM
WORKING WITH THE ENVIRONMENT 249
Working with the Environment
When you were preparing the 3D model in VIZ, you had to use a black background color for the envi-
ronment because of the necessity to create anti-aliased alpha channel renderings. Later, when you
brought those renderings into Photoshop, you converted their alpha channels to layer masks, leaving
transparency around each of the objects. Therefore, white pixels currently surround the building
because the Background layer is white.
Now all you have to do to see an environment surrounding the building is to replace the back-
ground with a photographic image. In addition, to create a more realistic composition, we can copy
and reflect the photographic environment, confining the pasted layers to the building’s glazing using
clipping groups. Let’s see how it is done:
1. If you have CompositingProject2.psd open from the previous exercise, you can continue
here; if not, open that file from your hard drive before continuing.
2. Open the file Clouds.jpg from the companion CD. This is the photographic image you’ll use
to place the building in its environment.
3. Press Ctrl+A and then Ctrl+C to copy all the pixels from the cloud image to the Clipboard.
Close Clouds.jpg.
4. In the CompositingProject2 window, click the background layer in the Layers palette. Press
Ctrl+V to paste the image from the Clipboard onto a new layer called Layer 1.
5. The cloud image in Layer 1 is larger than your canvas size, so you can move it around to find
the best fit for the building’s surrounding environment. Select the Move tool (press V) and
drag Layer 1 around until you are satisfied with its appearance in relation to the building.
NOTE If your photographic image were smaller, you could use Free Transform (Ctrl+T) to scale it up
so it would cover the needed area. However, you’ll get the best results when using environment
images with at least the same or greater pixel size as compared to your compositing project.
6. When you are satisfied with the position of the environment in the previous step, you can trim
away the excess pixels on Layer 1 to make the file smaller. Choose Image Trim, click the Top
Left Pixel Color radio button in the Trim dialog box, and click OK.
Adjust the exposure of the cloud image so it matches the rest of the composition by using a
layer blending mode technique.
7. Duplicate Layer 1 by pressing Ctrl+J, making a new layer called Layer 1 Copy. Change the
blending mode of Layer 1 Copy to Screen. Adjust its opacity to 35% to brighten the underlying
underexposed layer.
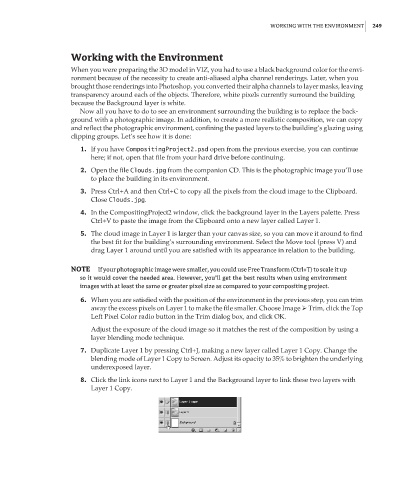
8. Click the link icons next to Layer 1 and the Background layer to link these two layers with
Layer 1 Copy.