
Page 267 - Enhancing CAD Drawings with Photoshop
P. 267
4386.book Page 251 Monday, November 15, 2004 3:27 PM
WORKING WITH THE ENVIRONMENT 251
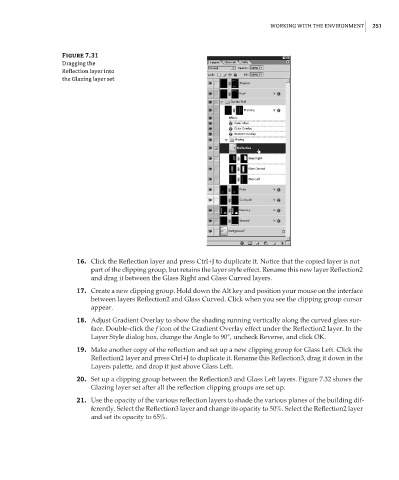
Figure 7.31
Dragging the
Reflection layer into
the Glazing layer set
16. Click the Reflection layer and press Ctrl+J to duplicate it. Notice that the copied layer is not
part of the clipping group, but retains the layer style effect. Rename this new layer Reflection2
and drag it between the Glass Right and Glass Curved layers.
17. Create a new clipping group. Hold down the Alt key and position your mouse on the interface
between layers Reflection2 and Glass Curved. Click when you see the clipping group cursor
appear.
18. Adjust Gradient Overlay to show the shading running vertically along the curved glass sur-
face. Double-click the f icon of the Gradient Overlay effect under the Reflection2 layer. In the
Layer Style dialog box, change the Angle to 90°, uncheck Reverse, and click OK.
19. Make another copy of the reflection and set up a new clipping group for Glass Left. Click the
Reflection2 layer and press Ctrl+J to duplicate it. Rename this Reflection3, drag it down in the
Layers palette, and drop it just above Glass Left.
20. Set up a clipping group between the Reflection3 and Glass Left layers. Figure 7.32 shows the
Glazing layer set after all the reflection clipping groups are set up.
21. Use the opacity of the various reflection layers to shade the various planes of the building dif-
ferently. Select the Reflection3 layer and change its opacity to 50%. Select the Reflection2 layer
and set its opacity to 65%.