
Page 272 - Enhancing CAD Drawings with Photoshop
P. 272
4386.book Page 256 Monday, November 15, 2004 3:27 PM
256 CHAPTER 7 CREATIVE COMPOSITING
14. Press Alt+Shift+Ctrl+E to stamp all visible onto the new layer. All the other layers are irrele-
vant at this point. Still, it is best to keep the underlying layers in case future changes need to
be made to this file; this is why we avoided flattening all the layers into one.
15. Choose Filter Texture Grain. Select a low intensity in the Filter Gallery dialog box; drag the
slider to 10 and click OK.
TIP A slight amount of grain or noise helps correct problems with color banding common in inkjet
printers.
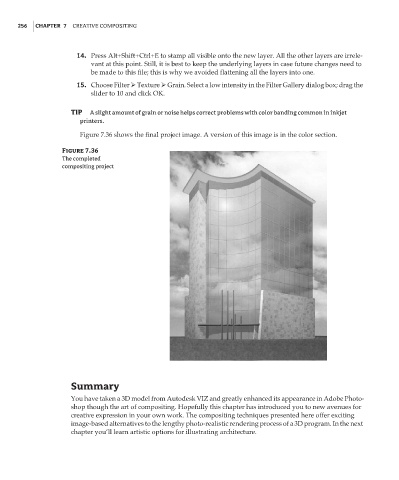
Figure 7.36 shows the final project image. A version of this image is in the color section.
Figure 7.36
The completed
compositing project
Summary
You have taken a 3D model from Autodesk VIZ and greatly enhanced its appearance in Adobe Photo-
shop though the art of compositing. Hopefully this chapter has introduced you to new avenues for
creative expression in your own work. The compositing techniques presented here offer exciting
image-based alternatives to the lengthy photo-realistic rendering process of a 3D program. In the next
chapter you’ll learn artistic options for illustrating architecture.