
Page 270 - Enhancing CAD Drawings with Photoshop
P. 270
4386.book Page 254 Monday, November 15, 2004 3:27 PM
254 CHAPTER 7 CREATIVE COMPOSITING
Adding to the Composite
Layer styles and adjustments are great because they maintain flexibility for you in the compositing
process. You can always go back and tweak as your composition evolves. At some milestone in
your process, you can create composite layers that contain collections of work that you have built up
from multiple layers. Because a composite layer is an aggregation of work on multiple layers, you lose
the ability to edit parameters you may have enjoyed previously.
However, the benefit of aggregating content on fewer layers is the ability to affect the composite
whole more readily (plus the simplification of the Layers palette). Let’s start cleaning up the Curtain
Wall layers by merging them in a composite layer.
1. Continue working here on the CompositingProject3.psd file from the last section.
2. Select the Curtain Wall layer set, right-click its eye icon in the Layers palette, and choose Show/
Hide All Other Layers. Now only the layers in the Curtain Wall set are visible. You can readily
see the blue glow that extends beyond the glazing system; you may remember this was origi-
nally created by the Outer Glow effect on the Framing layer.
3. Create a new layer and drag it above and out of the Curtain Wall layer set. Rename it Curtain
Wall Composite.
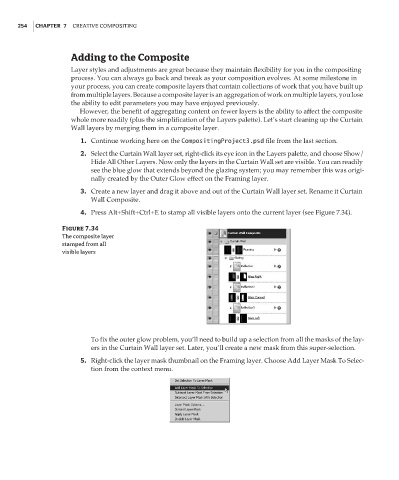
4. Press Alt+Shift+Ctrl+E to stamp all visible layers onto the current layer (see Figure 7.34).
Figure 7.34
The composite layer
stamped from all
visible layers
To fix the outer glow problem, you’ll need to build up a selection from all the masks of the lay-
ers in the Curtain Wall layer set. Later, you’ll create a new mask from this super-selection.
5. Right-click the layer mask thumbnail on the Framing layer. Choose Add Layer Mask To Selec-
tion from the context menu.