
Page 274 - Enhancing CAD Drawings with Photoshop
P. 274
4386.book Page 258 Monday, November 15, 2004 3:27 PM
258 CHAPTER 8 ILLUSTRATING ARCHITECTURE
TIP The model used in this chapter is provided in additional file formats (.3ds, .dxf, and .wrl) on
the companion CD for greater compatibility with other 3D programs.
Rendering in VIZ
You’ll be making several renderings of the 3D model in VIZ to ultimately integrate into the illustra-
tion project for work in Photoshop. All the renderings made in this chapter will be generated from
exactly the same point of view, although each will contain different forms of image data.
Although the rendering process presented here has some similarities to the compositing process
presented in Chapter 7, there are important differences. Instead of rendering each object as a separate
image, you’ll render special image channels that allow you to select, mask, and illustrate specific sur-
faces in Photoshop.
The first step when opening the sample file is to examine it and get a sense of the massing and spa-
tial qualities of the design. The 3D model I’ll use here is inspired by William Wurster’s Gregory Farm-
house design in Santa Cruz, California (1926). It is a simple residential design centered on an open
courtyard featuring spatial sophistication.
Once you visualize the 3D model, render an overall shot of the structures and tree, including an
alpha channel, to delineate all the object boundaries at once. Make a similar rendering without the
tree so that the building is easier to illustrate. To later composite the tree on top of the building, you
need to render the tree separately as a matted object. The shadows will also be rendered as a separate
element for compositing.
1. Launch Autodesk VIZ 2005.
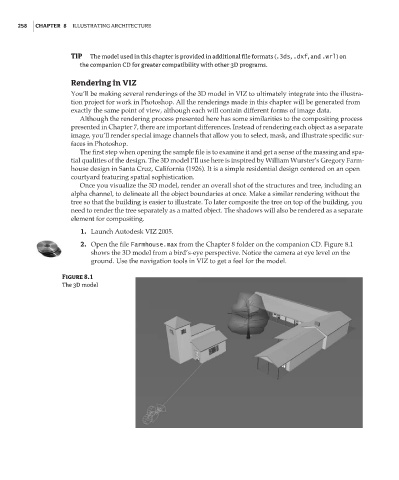
2. Open the file Farmhouse.max from the Chapter 8 folder on the companion CD. Figure 8.1
shows the 3D model from a bird’s-eye perspective. Notice the camera at eye level on the
ground. Use the navigation tools in VIZ to get a feel for the model.
Figure 8.1
The 3D model