
Page 278 - Enhancing CAD Drawings with Photoshop
P. 278
4386.book Page 262 Monday, November 15, 2004 3:27 PM
262 CHAPTER 8 ILLUSTRATING ARCHITECTURE
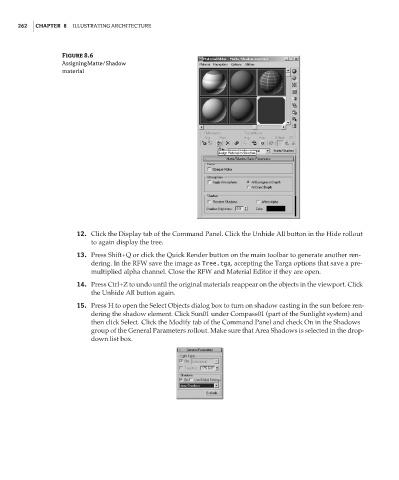
Figure 8.6
Assigning Matte/Shadow
material
12. Click the Display tab of the Command Panel. Click the Unhide All button in the Hide rollout
to again display the tree.
13. Press Shift+Q or click the Quick Render button on the main toolbar to generate another ren-
dering. In the RFW save the image as Tree.tga, accepting the Targa options that save a pre-
multiplied alpha channel. Close the RFW and Material Editor if they are open.
14. Press Ctrl+Z to undo until the original materials reappear on the objects in the viewport. Click
the Unhide All button again.
15. Press H to open the Select Objects dialog box to turn on shadow casting in the sun before ren-
dering the shadow element. Click Sun01 under Compass01 (part of the Sunlight system) and
then click Select. Click the Modify tab of the Command Panel and check On in the Shadows
group of the General Parameters rollout. Make sure that Area Shadows is selected in the drop-
down list box.