
Page 277 - Enhancing CAD Drawings with Photoshop
P. 277
4386.book Page 261 Monday, November 15, 2004 3:27 PM
ILLUSTRATING A 3D MODEL 261
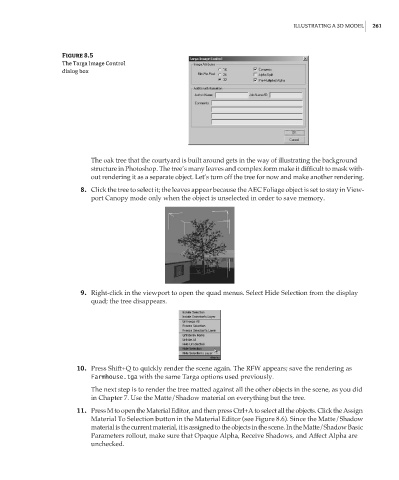
Figure 8.5
The Targa Image Control
dialog box
The oak tree that the courtyard is built around gets in the way of illustrating the background
structure in Photoshop. The tree’s many leaves and complex form make it difficult to mask with-
out rendering it as a separate object. Let’s turn off the tree for now and make another rendering.
8. Click the tree to select it; the leaves appear because the AEC Foliage object is set to stay in View-
port Canopy mode only when the object is unselected in order to save memory.
9. Right-click in the viewport to open the quad menus. Select Hide Selection from the display
quad; the tree disappears.
10. Press Shift+Q to quickly render the scene again. The RFW appears; save the rendering as
Farmhouse.tga with the same Targa options used previously.
The next step is to render the tree matted against all the other objects in the scene, as you did
in Chapter 7. Use the Matte/Shadow material on everything but the tree.
11. Press M to open the Material Editor, and then press Ctrl+A to select all the objects. Click the Assign
Material To Selection button in the Material Editor (see Figure 8.6). Since the Matte/Shadow
material is the current material, it is assigned to the objects in the scene. In the Matte/Shadow Basic
Parameters rollout, make sure that Opaque Alpha, Receive Shadows, and Affect Alpha are
unchecked.