
Page 255 - Enhancing CAD Drawings with Photoshop
P. 255
4386.book Page 239 Monday, November 15, 2004 3:27 PM
COMPOSITING IN PHOTOSHOP 239
converting this alpha information into a selection. You’ll then use the selection to create a layer mask
that reveals only the pixels of the “object” itself. This is as close as you can get to having objects in
Photoshop; you understand we are actually manipulating pixels in Photoshop that represent the real
3D objects from VIZ.
1. In Photoshop, open Framing.tga from among the renderings we built in the preceding
section.
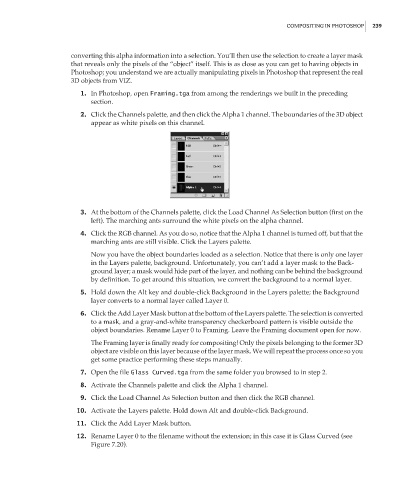
2. Click the Channels palette, and then click the Alpha 1 channel. The boundaries of the 3D object
appear as white pixels on this channel.
3. At the bottom of the Channels palette, click the Load Channel As Selection button (first on the
left). The marching ants surround the white pixels on the alpha channel.
4. Click the RGB channel. As you do so, notice that the Alpha 1 channel is turned off, but that the
marching ants are still visible. Click the Layers palette.
Now you have the object boundaries loaded as a selection. Notice that there is only one layer
in the Layers palette, background. Unfortunately, you can’t add a layer mask to the Back-
ground layer; a mask would hide part of the layer, and nothing can be behind the background
by definition. To get around this situation, we convert the background to a normal layer.
5. Hold down the Alt key and double-click Background in the Layers palette; the Background
layer converts to a normal layer called Layer 0.
6. Click the Add Layer Mask button at the bottom of the Layers palette. The selection is converted
to a mask, and a gray-and-white transparency checkerboard pattern is visible outside the
object boundaries. Rename Layer 0 to Framing. Leave the Framing document open for now.
The Framing layer is finally ready for compositing! Only the pixels belonging to the former 3D
object are visible on this layer because of the layer mask. We will repeat the process once so you
get some practice performing these steps manually.
7. Open the file Glass Curved.tga from the same folder you browsed to in step 2.
8. Activate the Channels palette and click the Alpha 1 channel.
9. Click the Load Channel As Selection button and then click the RGB channel.
10. Activate the Layers palette. Hold down Alt and double-click Background.
11. Click the Add Layer Mask button.
12. Rename Layer 0 to the filename without the extension; in this case it is Glass Curved (see
Figure 7.20).