
Page 251 - Enhancing CAD Drawings with Photoshop
P. 251
4386.book Page 235 Monday, November 15, 2004 3:27 PM
RENDERING IN AUTODESK VIZ
235
Read through the code and notice what is happening. The script starts by defining the user
interface. An output path is then recorded, and the Start Rendering button starts looping
through all the objects in the scene. Within the loop, an object is selected, and then the selec-
tion is inverted. Undo recording starts, and the Matte/Shadow material is assigned to the
selection. The background color is set to black, the Targa options are set, and the file is saved
as an RGBA image. An Undo restores the original materials. The next object is then processed
in exactly the same way, and so on. At the end of the loop, the user is notified that the pro-
cessing is done.
The script executes the same steps you performed manually in the last section. The great ben-
efit is that now you merely have to start the processing and you can walk away from the com-
puter while the processing takes place.
6. To interpret the code, choose File Evaluate All from the MAXScript window, and then
close the MAXScript window. On the Utility tab of the Command Panel, click the Utilities
drop-down list box in the MAXScript rollout and select Render Matte to display a new
rollout.
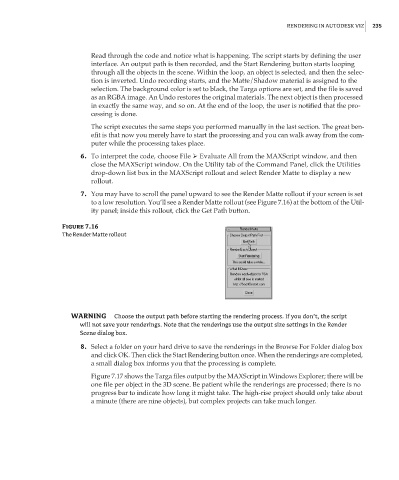
7. You may have to scroll the panel upward to see the Render Matte rollout if your screen is set
to a low resolution. You’ll see a Render Matte rollout (see Figure 7.16) at the bottom of the Util-
ity panel; inside this rollout, click the Get Path button.
Figure 7.16
The Render Matte rollout
WARNING Choose the output path before starting the rendering process. If you don’t, the script
will not save your renderings. Note that the renderings use the output size settings in the Render
Scene dialog box.
8. Select a folder on your hard drive to save the renderings in the Browse For Folder dialog box
and click OK. Then click the Start Rendering button once. When the renderings are completed,
a small dialog box informs you that the processing is complete.
Figure 7.17 shows the Targa files output by the MAXScript in Windows Explorer; there will be
one file per object in the 3D scene. Be patient while the renderings are processed; there is no
progress bar to indicate how long it might take. The high-rise project should only take about
a minute (there are nine objects), but complex projects can take much longer.