
Page 258 - Enhancing CAD Drawings with Photoshop
P. 258
4386.book Page 242 Monday, November 15, 2004 3:27 PM
242 CHAPTER 7 CREATIVE COMPOSITING
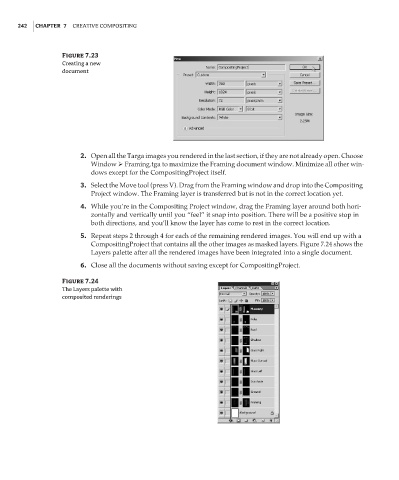
Figure 7.23
Creating a new
document
2. Open all the Targa images you rendered in the last section, if they are not already open. Choose
Window Framing.tga to maximize the Framing document window. Minimize all other win-
dows except for the CompositingProject itself.
3. Select the Move tool (press V). Drag from the Framing window and drop into the Compositing
Project window. The Framing layer is transferred but is not in the correct location yet.
4. While you’re in the Compositing Project window, drag the Framing layer around both hori-
zontally and vertically until you “feel” it snap into position. There will be a positive stop in
both directions, and you’ll know the layer has come to rest in the correct location.
5. Repeat steps 2 through 4 for each of the remaining rendered images. You will end up with a
CompositingProject that contains all the other images as masked layers. Figure 7.24 shows the
Layers palette after all the rendered images have been integrated into a single document.
6. Close all the documents without saving except for CompositingProject.
Figure 7.24
The Layers palette with
composited renderings