
Page 257 - Enhancing CAD Drawings with Photoshop
P. 257
4386.book Page 241 Monday, November 15, 2004 3:27 PM
COMPOSITING IN PHOTOSHOP 241
8. Click the Add Layer Mask button.
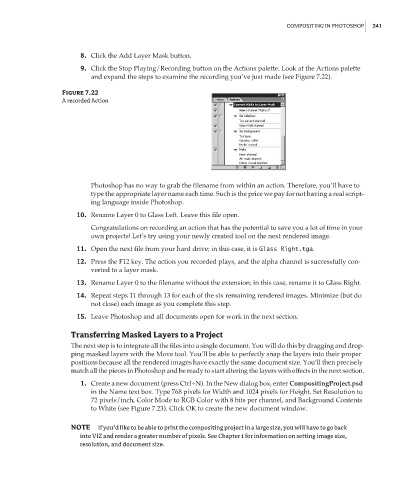
9. Click the Stop Playing/Recording button on the Actions palette. Look at the Actions palette
and expand the steps to examine the recording you’ve just made (see Figure 7.22).
Figure 7.22
A recorded Action
Photoshop has no way to grab the filename from within an action. Therefore, you’ll have to
type the appropriate layer name each time. Such is the price we pay for not having a real script-
ing language inside Photoshop.
10. Rename Layer 0 to Glass Left. Leave this file open.
Congratulations on recording an action that has the potential to save you a lot of time in your
own projects! Let’s try using your newly created tool on the next rendered image.
11. Open the next file from your hard drive; in this case, it is Glass Right.tga.
12. Press the F12 key. The action you recorded plays, and the alpha channel is successfully con-
verted to a layer mask.
13. Rename Layer 0 to the filename without the extension; in this case, rename it to Glass Right.
14. Repeat steps 11 through 13 for each of the six remaining rendered images. Minimize (but do
not close) each image as you complete this step.
15. Leave Photoshop and all documents open for work in the next section.
Transferring Masked Layers to a Project
The next step is to integrate all the files into a single document. You will do this by dragging and drop-
ping masked layers with the Move tool. You’ll be able to perfectly snap the layers into their proper
positions because all the rendered images have exactly the same document size. You’ll then precisely
match all the pieces in Photoshop and be ready to start altering the layers with effects in the next section.
1. Create a new document (press Ctrl+N). In the New dialog box, enter CompositingProject.psd
in the Name text box. Type 768 pixels for Width and 1024 pixels for Height. Set Resolution to
72 pixels/inch, Color Mode to RGB Color with 8 bits per channel, and Background Contents
to White (see Figure 7.23). Click OK to create the new document window.
NOTE If you’d like to be able to print the compositing project in a large size, you will have to go back
into VIZ and render a greater number of pixels. See Chapter 1 for information on setting image size,
resolution, and document size.