
Page 306 - Enhancing CAD Drawings with Photoshop
P. 306
4386.book Page 290 Monday, November 15, 2004 3:27 PM
290 CHAPTER 8 ILLUSTRATING ARCHITECTURE
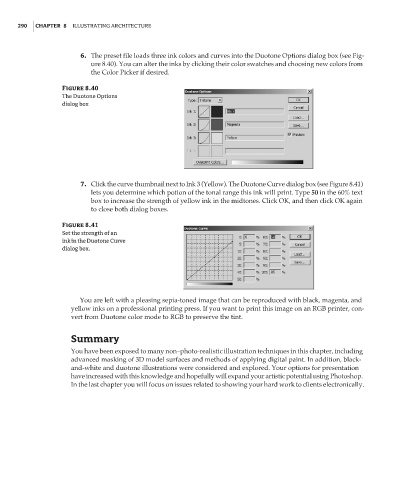
6. The preset file loads three ink colors and curves into the Duotone Options dialog box (see Fig-
ure 8.40). You can alter the inks by clicking their color swatches and choosing new colors from
the Color Picker if desired.
Figure 8.40
The Duotone Options
dialog box
7. Click the curve thumbnail next to Ink 3 (Yellow). The Duotone Curve dialog box (see Figure 8.41)
lets you determine which potion of the tonal range this ink will print. Type 50 in the 60% text
box to increase the strength of yellow ink in the midtones. Click OK, and then click OK again
to close both dialog boxes.
Figure 8.41
Set the strength of an
ink in the Duotone Curve
dialog box.
You are left with a pleasing sepia-toned image that can be reproduced with black, magenta, and
yellow inks on a professional printing press. If you want to print this image on an RGB printer, con-
vert from Duotone color mode to RGB to preserve the tint.
Summary
You have been exposed to many non–photo-realistic illustration techniques in this chapter, including
advanced masking of 3D model surfaces and methods of applying digital paint. In addition, black-
and-white and duotone illustrations were considered and explored. Your options for presentation
have increased with this knowledge and hopefully will expand your artistic potential using Photoshop.
In the last chapter you will focus on issues related to showing your hard work to clients electronically.