
Page 337 - Enhancing CAD Drawings with Photoshop
P. 337
4386.book Page 321 Monday, November 15, 2004 3:27 PM
PROTECTING YOUR INTELLECTUAL PROPERTY 321
added to this library in Chapter 4. If you skipped Chapter 4, choose the copyright symbol in
the Custom Shape Picker instead.
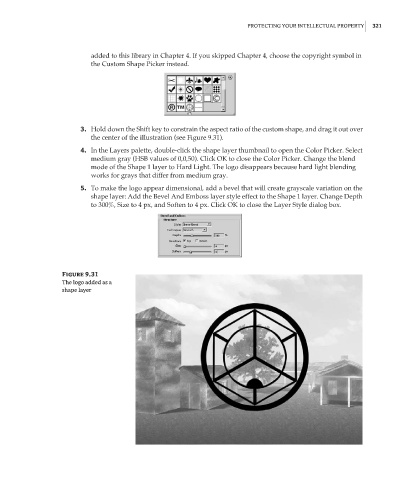
3. Hold down the Shift key to constrain the aspect ratio of the custom shape, and drag it out over
the center of the illustration (see Figure 9.31).
4. In the Layers palette, double-click the shape layer thumbnail to open the Color Picker. Select
medium gray (HSB values of 0,0,50). Click OK to close the Color Picker. Change the blend
mode of the Shape 1 layer to Hard Light. The logo disappears because hard light blending
works for grays that differ from medium gray.
5. To make the logo appear dimensional, add a bevel that will create grayscale variation on the
shape layer: Add the Bevel And Emboss layer style effect to the Shape 1 layer. Change Depth
to 300%, Size to 4 px, and Soften to 4 px. Click OK to close the Layer Style dialog box.
Figure 9.31
The logo added as a
shape layer