
Page 338 - Enhancing CAD Drawings with Photoshop
P. 338
4386.book Page 322 Monday, November 15, 2004 3:27 PM
322 CHAPTER 9 SHOWING WORK TO YOUR CLIENTS
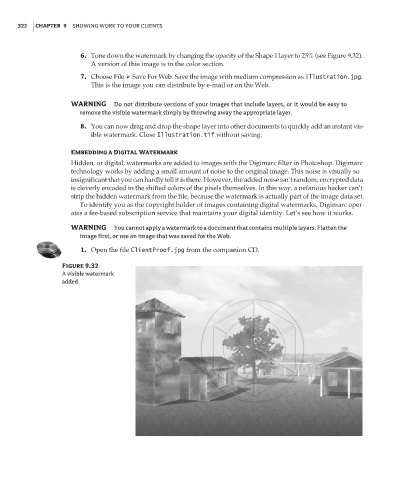
6. Tone down the watermark by changing the opacity of the Shape 1 layer to 25% (see Figure 9.32).
A version of this image is in the color section.
7. Choose File Save For Web. Save the image with medium compression as Illustration.jpg.
This is the image you can distribute by e-mail or on the Web.
WARNING Do not distribute versions of your images that include layers, or it would be easy to
remove the visible watermark simply by throwing away the appropriate layer.
8. You can now drag and drop the shape layer into other documents to quickly add an instant vis-
ible watermark. Close Illustration.tif without saving.
Embedding a Digital Watermark
Hidden, or digital, watermarks are added to images with the Digimarc filter in Photoshop. Digimarc
technology works by adding a small amount of noise to the original image. This noise is visually so
insignificant that you can hardly tell it is there. However, the added noise isn’t random; encrypted data
is cleverly encoded in the shifted colors of the pixels themselves. In this way, a nefarious hacker can’t
strip the hidden watermark from the file, because the watermark is actually part of the image data set.
To identify you as the copyright holder of images containing digital watermarks, Digimarc oper-
ates a fee-based subscription service that maintains your digital identity. Let’s see how it works.
WARNING You cannot apply a watermark to a document that contains multiple layers. Flatten the
image first, or use an image that was saved for the Web.
1. Open the file ClientProof.jpg from the companion CD.
Figure 9.32
A visible watermark
added