
Page 70 - Excel Timesaving Techniques for Dummies
P. 70
12_574272 ch10.qxd 10/1/04 10:37 PM Page 55
55
Go To It and Select It
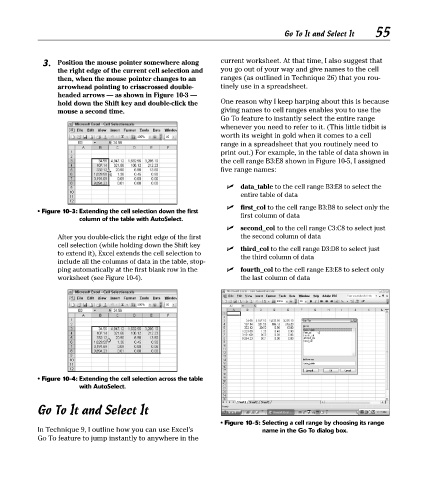
3. Position the mouse pointer somewhere along current worksheet. At that time, I also suggest that
the right edge of the current cell selection and you go out of your way and give names to the cell
then, when the mouse pointer changes to an ranges (as outlined in Technique 26) that you rou-
arrowhead pointing to crisscrossed double- tinely use in a spreadsheet.
headed arrows — as shown in Figure 10-3 —
hold down the Shift key and double-click the One reason why I keep harping about this is because
mouse a second time. giving names to cell ranges enables you to use the
Go To feature to instantly select the entire range
whenever you need to refer to it. (This little tidbit is
worth its weight in gold when it comes to a cell
range in a spreadsheet that you routinely need to
print out.) For example, in the table of data shown in
the cell range B3:E8 shown in Figure 10-5, I assigned
five range names:
data_table to the cell range B3:E8 to select the
entire table of data
first_col to the cell range B3:B8 to select only the
• Figure 10-3: Extending the cell selection down the first
column of the table with AutoSelect. first column of data
second_col to the cell range C3:C8 to select just
After you double-click the right edge of the first the second column of data
cell selection (while holding down the Shift key
third_col to the cell range D3:D8 to select just
to extend it), Excel extends the cell selection to
the third column of data
include all the columns of data in the table, stop-
ping automatically at the first blank row in the fourth_col to the cell range E3:E8 to select only
worksheet (see Figure 10-4). the last column of data
• Figure 10-4: Extending the cell selection across the table
with AutoSelect.
Go To It and Select It
• Figure 10-5: Selecting a cell range by choosing its range
In Technique 9, I outline how you can use Excel’s name in the Go To dialog box.
Go To feature to jump instantly to anywhere in the