
Page 80 - Excel Workbook for Dummies
P. 80
08_798452 ch04.qxp 3/13/06 7:36 PM Page 63
Chapter 4: Modifying the Spreadsheet 63
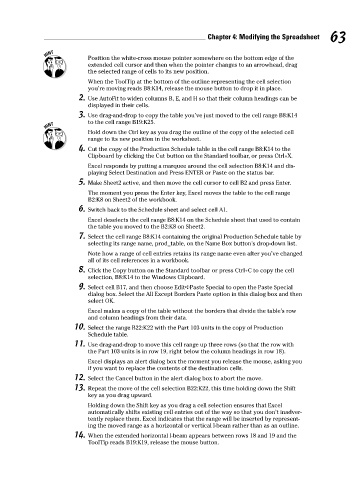
Position the white-cross mouse pointer somewhere on the bottom edge of the
extended cell cursor and then when the pointer changes to an arrowhead, drag
the selected range of cells to its new position.
When the ToolTip at the bottom of the outline representing the cell selection
you’re moving reads B8:K14, release the mouse button to drop it in place.
2. Use AutoFit to widen columns B, E, and H so that their column headings can be
displayed in their cells.
3. Use drag-and-drop to copy the table you’ve just moved to the cell range B8:K14
to the cell range B19:K25.
Hold down the Ctrl key as you drag the outline of the copy of the selected cell
range to its new position in the worksheet.
4. Cut the copy of the Production Schedule table in the cell range B8:K14 to the
Clipboard by clicking the Cut button on the Standard toolbar, or press Ctrl+X.
Excel responds by putting a marquee around the cell selection B8:K14 and dis-
playing Select Destination and Press ENTER or Paste on the status bar.
5. Make Sheet2 active, and then move the cell cursor to cell B2 and press Enter.
The moment you press the Enter key, Excel moves the table to the cell range
B2:K8 on Sheet2 of the workbook.
6. Switch back to the Schedule sheet and select cell A1.
Excel deselects the cell range B8:K14 on the Schedule sheet that used to contain
the table you moved to the B2:K8 on Sheet2.
7. Select the cell range B8:K14 containing the original Production Schedule table by
selecting its range name, prod_table, on the Name Box button’s drop-down list.
Note how a range of cell entries retains its range name even after you’ve changed
all of its cell references in a workbook.
8. Click the Copy button on the Standard toolbar or press Ctrl+C to copy the cell
selection, B8:K14 to the Windows Clipboard.
9. Select cell B17, and then choose Edit➪Paste Special to open the Paste Special
dialog box. Select the All Except Borders Paste option in this dialog box and then
select OK.
Excel makes a copy of the table without the borders that divide the table’s row
and column headings from their data.
10. Select the range B22:K22 with the Part 103 units in the copy of Production
Schedule table.
11. Use drag-and-drop to move this cell range up three rows (so that the row with
the Part 103 units is in row 19, right below the column headings in row 18).
Excel displays an alert dialog box the moment you release the mouse, asking you
if you want to replace the contents of the destination cells.
12. Select the Cancel button in the alert dialog box to abort the move.
13. Repeat the move of the cell selection B22:K22, this time holding down the Shift
key as you drag upward.
Holding down the Shift key as you drag a cell selection ensures that Excel
automatically shifts existing cell entries out of the way so that you don’t inadver-
tently replace them. Excel indicates that the range will be inserted by represent-
ing the moved range as a horizontal or vertical I-beam rather than as an outline.
14. When the extended horizontal I-beam appears between rows 18 and 19 and the
ToolTip reads B19:K19, release the mouse button.