
Page 132 - PDA Robotics Using Your Personal Digital Assistant to Control Your Robot
P. 132
PDA 06 5/27/03 8:37 AM Page 108
PDA Robotics
•
Rubber gloves
• Plastic development tray
• Instruction sheet
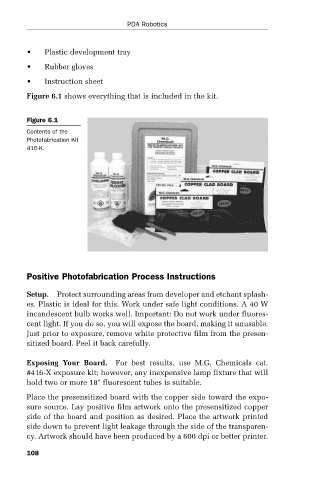
Figure 6.1 shows everything that is included in the kit.
Figure 6.1
Contents of the
Photofabrication Kit
416-K.
Positive Photofabrication Process Instructions
Setup. Protect surrounding areas from developer and etchant splash-
es. Plastic is ideal for this. Work under safe light conditions. A 40 W
incandescent bulb works well. Important: Do not work under fluores-
cent light. If you do so, you will expose the board, making it unusable.
Just prior to exposure, remove white protective film from the presen-
sitized board. Peel it back carefully.
Exposing Your Board. For best results, use M.G. Chemicals cat.
#416-X exposure kit; however, any inexpensive lamp fixture that will
hold two or more 18" fluorescent tubes is suitable.
Place the presensitized board with the copper side toward the expo-
sure source. Lay positive film artwork onto the presensitized copper
side of the board and position as desired. Place the artwork printed
side down to prevent light leakage through the side of the transparen-
cy. Artwork should have been produced by a 600 dpi or better printer.
108