
Page 184 - Robot Builder's Bonanza
P. 184
MAKING DRILLING AND CUTTING LAYOUTS 153
Direct Layout
Mark the material with the layout you want using a soft pencil. A construction pencil, which
you can find in the tool section of your local hardware store, has a very soft lead and writes
on most any surface, including plastic, metal, and even tile (TileBot anyone?). You can also
use a fine- tipped black marker such as a Sharpie.
Paper Layout
Drawing the layout on paper then using the paper as a template is a lot more forgiving. If you
make a mistake it’s easy just to start again with a new piece of paper. Use a sheet of ordinary
unlined white paper. If the sheet is too small, you can use white craft paper, available in rolls
at a craft or discount store.
With a pencil, draw the layout on the paper. A ruler or other drafting aid will help in mak-
ing straight, accurate lines. If you wish, you can use graph paper (1/4″ grid) to help with the
layout.
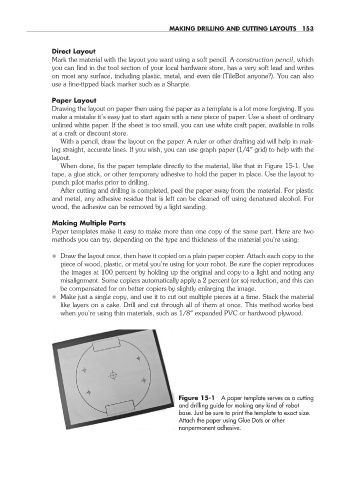
When done, fix the paper template directly to the material, like that in Figure 15-1. Use
tape, a glue stick, or other temporary adhesive to hold the paper in place. Use the layout to
punch pilot marks prior to drilling.
After cutting and drilling is completed, peel the paper away from the material. For plastic
and metal, any adhesive residue that is left can be cleaned off using denatured alcohol. For
wood, the adhesive can be removed by a light sanding.
Making Multiple Parts
Paper templates make it easy to make more than one copy of the same part. Here are two
methods you can try, depending on the type and thickness of the material you’re using:
• Draw the layout once, then have it copied on a plain paper copier. Attach each copy to the
piece of wood, plastic, or metal you’re using for your robot. Be sure the copier reproduces
the images at 100 percent by holding up the original and copy to a light and noting any
misalignment. Some copiers automatically apply a 2 percent (or so) reduction, and this can
be compensated for on better copiers by slightly enlarging the image.
• Make just a single copy, and use it to cut out multiple pieces at a time. Stack the material
like layers on a cake. Drill and cut through all of them at once. This method works best
when you’re using thin materials, such as 1/8″ expanded PVC or hardwood plywood.
Figure 15-1 A paper template serves as a cutting
and drilling guide for making any kind of robot
base. Just be sure to print the template to exact size.
Attach the paper using Glue Dots or other
nonpermanent adhesive.
15-chapter-15.indd 153 4/21/11 11:48 AM