
Page 311 - Robots Androids and Animatrons : 12 Incredible Projects You Can Build
P. 311
creates a directory named “Images” on the computer’s hard drive
and the needed files are copied into this directory. An Images icon
is created on the Start menu. To run the program, click on this
icon in the Start menu.
Using the Windows 95 program
Connect the computer’s printer port to the interface using the 6-ft
DB25 cable. Connect the interface to the base of the robotic arm.
Keep the interface off for the time being. If you turned the interface
on at this point, the existing information (status) left on the printer
port may cause the robotic arm to begin performing a function.
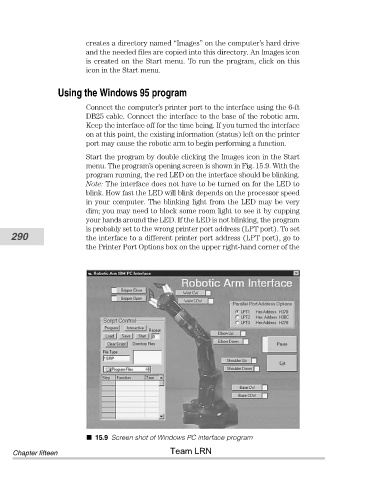
Start the program by double clicking the Images icon in the Start
menu. The program’s opening screen is shown in Fig. 15.9. With the
program running, the red LED on the interface should be blinking.
Note: The interface does not have to be turned on for the LED to
blink. How fast the LED will blink depends on the processor speed
in your computer. The blinking light from the LED may be very
dim; you may need to block some room light to see it by cupping
your hands around the LED. If the LED is not blinking, the program
is probably set to the wrong printer port address (LPT port). To set
290 the interface to a different printer port address (LPT port), go to
the Printer Port Options box on the upper right-hand corner of the
15.9 Screen shot of Windows PC interface program
Team LRN
Chapter fifteen