
Page 116 - 15 Dangerously Mad Projects for the Evil Genius
P. 116
Chapter 8 ■ Persistence-of-Vision Display 95
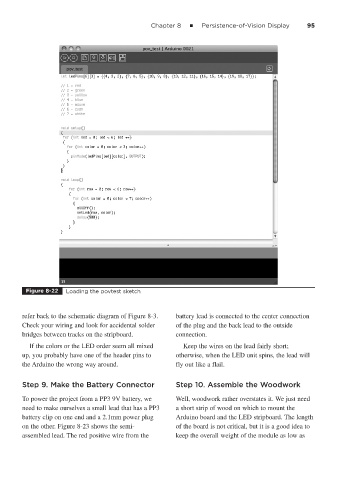
Figure 8-22 Loading the povtest sketch
refer back to the schematic diagram of Figure 8-3. battery lead is connected to the center connection
Check your wiring and look for accidental solder of the plug and the back lead to the outside
bridges between tracks on the stripboard. connection.
If the colors or the LED order seem all mixed Keep the wires on the lead fairly short;
up, you probably have one of the header pins to otherwise, when the LED unit spins, the lead will
the Arduino the wrong way around. fly out like a flail.
Step 9. Make the Battery Connector Step 10. Assemble the Woodwork
To power the project from a PP3 9V battery, we Well, woodwork rather overstates it. We just need
need to make ourselves a small lead that has a PP3 a short strip of wood on which to mount the
battery clip on one end and a 2.1mm power plug Arduino board and the LED stripboard. The length
on the other. Figure 8-23 shows the semi- of the board is not critical, but it is a good idea to
assembled lead. The red positive wire from the keep the overall weight of the module as low as