
Page 75 - 15 Dangerously Mad Projects for the Evil Genius
P. 75
54 15 Dangerously Mad Projects for the Evil Genius
What You Will Need going to fit. Then, mark the lid of the box where
you need to drill holes for the variable resistor,
You will need the components listed in the Parts
phototransistor, terminal block, switch, and LED.
Bin for the balloon popper.
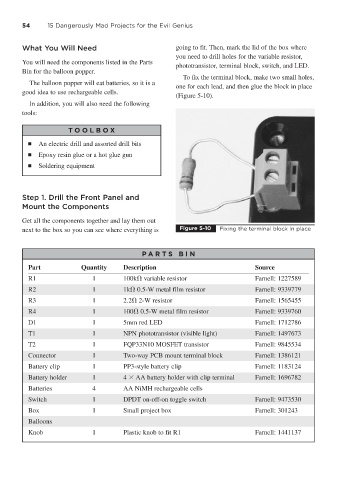
To fix the terminal block, make two small holes,
The balloon popper will eat batteries, so it is a
one for each lead, and then glue the block in place
good idea to use rechargeable cells.
(Figure 5-10).
In addition, you will also need the following
tools:
T OOLBO X
■ An electric drill and assorted drill bits
■ Epoxy resin glue or a hot glue gun
■ Soldering equipment
Step 1. Drill the Front Panel and
Mount the Components
Get all the components together and lay them out
next to the box so you can see where everything is Figure 5-10 Fixing the terminal block in place
P A RT S BIN
Part Quantity Description Source
R1 1 100k variable resistor Farnell: 1227589
R2 1 1k 0.5-W metal film resistor Farnell: 9339779
R3 1 2.2 2-W resistor Farnell: 1565455
R4 1 100 0.5-W metal film resistor Farnell: 9339760
D1 1 5mm red LED Farnell: 1712786
T1 1 NPN phototransistor (visible light) Farnell: 1497673
T2 1 FQP33N10 MOSFET transistor Farnell: 9845534
Connector 1 Two-way PCB mount terminal block Farnell: 1386121
Battery clip 1 PP3-style battery clip Farnell: 1183124
Battery holder 1 4 AA battery holder with clip terminal Farnell: 1696782
Batteries 4 AA NiMH rechargeable cells
Switch 1 DPDT on-off-on toggle switch Farnell: 9473530
Box 1 Small project box Farnell: 301243
Balloons
Knob 1 Plastic knob to fit R1 Farnell: 1441137