
Page 688 - 02. Subyek Computer Aided Design - Beginner’s Guide to SOLIDWORKS 2019- Level 1 by Alejandro Reyes
P. 688
Animation and Rendering
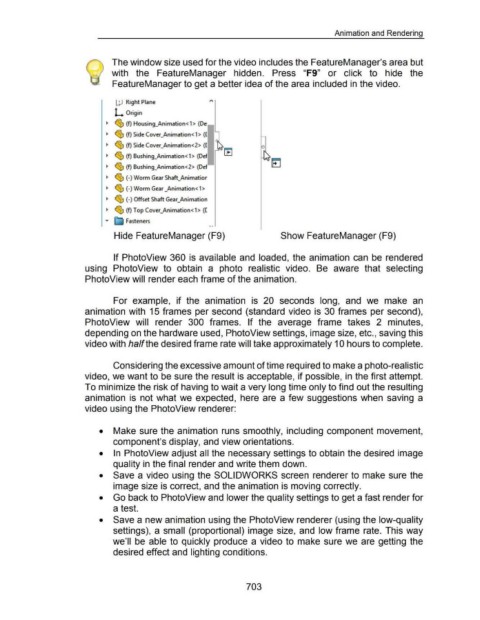
The window size used for the video includes the FeatureManager's area but
with the FeatureManager hidden. Press "F9" or click to hide the
FeatureManager to get a better idea of the area included in the video.
UJ Right Plane "
L Origin
~ ~ (f) Housing_Animation < 1 > (De
~ ~ (f) Side Cover_Animation<1> ([
~ ~ (f) Side Cover_Animation<2> ([
~ ~ (f) Bushing_Animation < 1 > (Def
~ ~ (f) Bushing_Animation < 2> (Def
~ ~ (-)Worm Gear Shaft_Animatior
~ ~ (-)Worm Gear _Animation<1>
~ ~ (-)Offset Shaft Gear_Animation
~ ~ (f) Top Cover_Animation<1> ([
""' ~ Fasteners
• •
Hide FeatureManager (F9) Show FeatureManager (F9)
If PhotoView 360 is available and loaded, the animation can be rendered
using PhotoView to obtain a photo realistic video. Be aware that selecting
Photo View will render each frame of the animation.
For example, if the animation is 20 seconds long, and we make an
animation with 15 frames per second (standard video is 30 frames per second),
PhotoView will render 300 frames. If the average frame takes 2 minutes,
depending on the hardware used, Photo View settings, image size, etc., saving this
video with half the desired frame rate will take approximately 10 hours to complete.
Considering the excessive amount of time required to make a photo-realistic
video, we want to be sure the result is acceptable, if possible, in the first attempt.
To minimize the risk of having to wait a very long time only to find out the resulting
animation is not what we expected, here are a few suggestions when saving a
video using the PhotoView renderer:
• Make sure the animation runs smoothly, including component movement,
component's display, and view orientations.
• In PhotoView adjust all the necessary settings to obtain the desired image
quality in the final render and write them down.
• Save a video using the SOLIDWORKS screen renderer to make sure the
image size is correct, and the animation is moving correctly.
• Go back to Photo View and lower the quality settings to get a fast render for
a test.
• Save a new animation using the PhotoView renderer (using the low-quality
settings), a small (proportional) image size, and low frame rate. This way
we'll be able to quickly produce a video to make sure we are getting the
desired effect and lighting conditions.
703