
Page 109 - Enhancing CAD Drawings with Photoshop
P. 109
4386.book Page 92 Monday, November 15, 2004 3:27 PM
92 CHAPTER 3 DIGITAL DARKROOM SKILLS
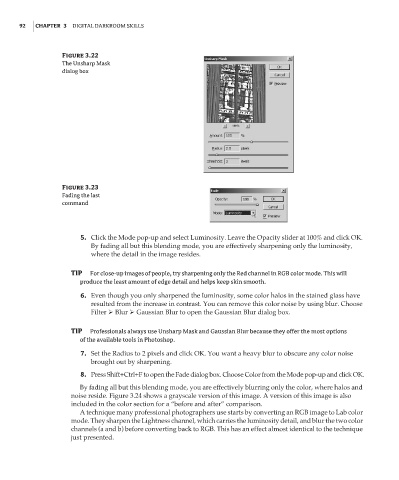
Figure 3.22
The Unsharp Mask
dialog box
Figure 3.23
Fading the last
command
5. Click the Mode pop-up and select Luminosity. Leave the Opacity slider at 100% and click OK.
By fading all but this blending mode, you are effectively sharpening only the luminosity,
where the detail in the image resides.
TIP For close-up images of people, try sharpening only the Red channel in RGB color mode. This will
produce the least amount of edge detail and helps keep skin smooth.
6. Even though you only sharpened the luminosity, some color halos in the stained glass have
resulted from the increase in contrast. You can remove this color noise by using blur. Choose
Filter Blur Gaussian Blur to open the Gaussian Blur dialog box.
TIP Professionals always use Unsharp Mask and Gaussian Blur because they offer the most options
of the available tools in Photoshop.
7. Set the Radius to 2 pixels and click OK. You want a heavy blur to obscure any color noise
brought out by sharpening.
8. Press Shift+Ctrl+F to open the Fade dialog box. Choose Color from the Mode pop-up and click OK.
By fading all but this blending mode, you are effectively blurring only the color, where halos and
noise reside. Figure 3.24 shows a grayscale version of this image. A version of this image is also
included in the color section for a “before and after” comparison.
A technique many professional photographers use starts by converting an RGB image to Lab color
mode. They sharpen the Lightness channel, which carries the luminosity detail, and blur the two color
channels (a and b) before converting back to RGB. This has an effect almost identical to the technique
just presented.