
Page 111 - Enhancing CAD Drawings with Photoshop
P. 111
4386.book Page 94 Monday, November 15, 2004 3:27 PM
94 CHAPTER 3 DIGITAL DARKROOM SKILLS
5. If you want the option to set parameters in the Unsharp Mask and Gaussian Blur dialog boxes
when you apply the action, toggle on the dialog box icons as shown in Figure 3.25.
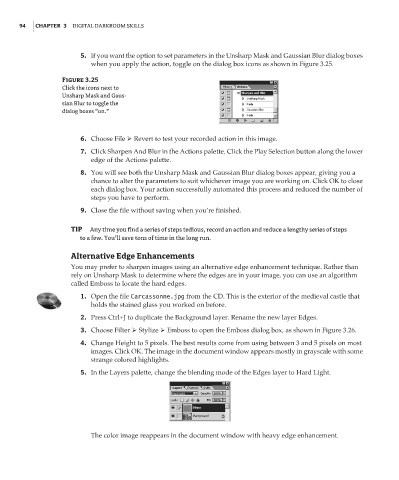
Figure 3.25
Click the icons next to
Unsharp Mask and Gaus-
sian Blur to toggle the
dialog boxes “on.”
6. Choose File Revert to test your recorded action in this image.
7. Click Sharpen And Blur in the Actions palette. Click the Play Selection button along the lower
edge of the Actions palette.
8. You will see both the Unsharp Mask and Gaussian Blur dialog boxes appear, giving you a
chance to alter the parameters to suit whichever image you are working on. Click OK to close
each dialog box. Your action successfully automated this process and reduced the number of
steps you have to perform.
9. Close the file without saving when you’re finished.
TIP Any time you find a series of steps tedious, record an action and reduce a lengthy series of steps
to a few. You’ll save tons of time in the long run.
Alternative Edge Enhancements
You may prefer to sharpen images using an alternative edge enhancement technique. Rather than
rely on Unsharp Mask to determine where the edges are in your image, you can use an algorithm
called Emboss to locate the hard edges.
1. Open the file Carcassonne.jpg from the CD. This is the exterior of the medieval castle that
holds the stained glass you worked on before.
2. Press Ctrl+J to duplicate the Background layer. Rename the new layer Edges.
3. Choose Filter Stylize Emboss to open the Emboss dialog box, as shown in Figure 3.26.
4. Change Height to 5 pixels. The best results come from using between 3 and 5 pixels on most
images. Click OK. The image in the document window appears mostly in grayscale with some
strange colored highlights.
5. In the Layers palette, change the blending mode of the Edges layer to Hard Light.
The color image reappears in the document window with heavy edge enhancement.