
Page 114 - Enhancing CAD Drawings with Photoshop
P. 114
4386.book Page 97 Monday, November 15, 2004 3:27 PM
SIMULATING CAMERA EFFECTS 97
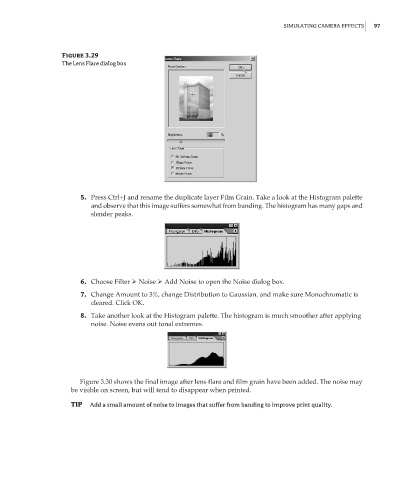
Figure 3.29
The Lens Flare dialog box
5. Press Ctrl+J and rename the duplicate layer Film Grain. Take a look at the Histogram palette
and observe that this image suffers somewhat from banding. The histogram has many gaps and
slender peaks.
6. Choose Filter Noise Add Noise to open the Noise dialog box.
7. Change Amount to 3%, change Distribution to Gaussian, and make sure Monochromatic is
cleared. Click OK.
8. Take another look at the Histogram palette. The histogram is much smoother after applying
noise. Noise evens out tonal extremes.
Figure 3.30 shows the final image after lens flare and film grain have been added. The noise may
be visible on screen, but will tend to disappear when printed.
TIP Add a small amount of noise to images that suffer from banding to improve print quality.