
Page 173 - Enhancing CAD Drawings with Photoshop
P. 173
4386.book Page 157 Monday, November 15, 2004 3:27 PM
TRANSFERRING MULTILAYER DRAWINGS TO PHOTOSHOP 157
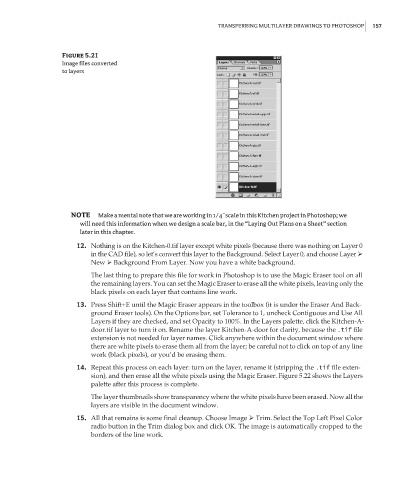
Figure 5.21
Image files converted
to layers
NOTE Make a mental note that we are working in 1/4˝ scale in this Kitchen project in Photoshop; we
will need this information when we design a scale bar, in the “Laying Out Plans on a Sheet” section
later in this chapter.
12. Nothing is on the Kitchen-0.tif layer except white pixels (because there was nothing on Layer 0
in the CAD file), so let’s convert this layer to the Background. Select Layer 0, and choose Layer
New Background From Layer. Now you have a white background.
The last thing to prepare this file for work in Photoshop is to use the Magic Eraser tool on all
the remaining layers. You can set the Magic Eraser to erase all the white pixels, leaving only the
black pixels on each layer that contains line work.
13. Press Shift+E until the Magic Eraser appears in the toolbox (it is under the Eraser And Back-
ground Eraser tools). On the Options bar, set Tolerance to 1, uncheck Contiguous and Use All
Layers if they are checked, and set Opacity to 100%. In the Layers palette, click the Kitchen-A-
door.tif layer to turn it on. Rename the layer Kitchen-A-door for clarity, because the .tif file
extension is not needed for layer names. Click anywhere within the document window where
there are white pixels to erase them all from the layer; be careful not to click on top of any line
work (black pixels), or you’d be erasing them.
14. Repeat this process on each layer: turn on the layer, rename it (stripping the .tif file exten-
sion), and then erase all the white pixels using the Magic Eraser. Figure 5.22 shows the Layers
palette after this process is complete.
The layer thumbnails show transparency where the white pixels have been erased. Now all the
layers are visible in the document window.
15. All that remains is some final cleanup. Choose Image Trim. Select the Top Left Pixel Color
radio button in the Trim dialog box and click OK. The image is automatically cropped to the
borders of the line work.