
Page 172 - Enhancing CAD Drawings with Photoshop
P. 172
4386.book Page 156 Monday, November 15, 2004 3:27 PM
156 CHAPTER 5 PRESENTING PLANS
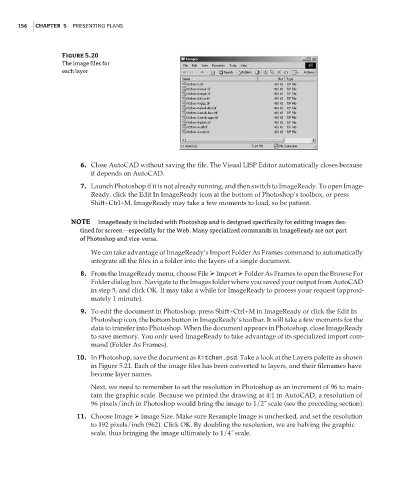
Figure 5.20
The image files for
each layer
6. Close AutoCAD without saving the file. The Visual LISP Editor automatically closes because
it depends on AutoCAD.
7. Launch Photoshop if it is not already running, and then switch to ImageReady. To open Image-
Ready, click the Edit In ImageReady icon at the bottom of Photoshop’s toolbox, or press
Shift+Ctrl+M. ImageReady may take a few moments to load, so be patient.
NOTE ImageReady is included with Photoshop and is designed specifically for editing images des-
tined for screen—especially for the Web. Many specialized commands in ImageReady are not part
of Photoshop and vice-versa.
We can take advantage of ImageReady’s Import Folder As Frames command to automatically
integrate all the files in a folder into the layers of a single document.
8. From the ImageReady menu, choose File Import Folder As Frames to open the Browse For
Folder dialog box. Navigate to the Images folder where you saved your output from AutoCAD
in step 5, and click OK. It may take a while for ImageReady to process your request (approxi-
mately 1 minute).
9. To edit the document in Photoshop, press Shift+Ctrl+M in ImageReady or click the Edit In
Photoshop icon, the bottom button in ImageReady’s toolbar. It will take a few moments for the
data to transfer into Photoshop. When the document appears in Photoshop, close ImageReady
to save memory. You only used ImageReady to take advantage of its specialized import com-
mand (Folder As Frames).
10. In Photoshop, save the document as Kitchen.psd. Take a look at the Layers palette as shown
in Figure 5.21. Each of the image files has been converted to layers, and their filenames have
become layer names.
Next, we need to remember to set the resolution in Photoshop as an increment of 96 to main-
tain the graphic scale. Because we printed the drawing at 4:1 in AutoCAD, a resolution of
96 pixels/inch in Photoshop would bring the image to 1/2˝ scale (see the preceding section).
11. Choose Image Image Size. Make sure Resample Image is unchecked, and set the resolution
to 192 pixels/inch (962). Click OK. By doubling the resolution, we are halving the graphic
scale, thus bringing the image ultimately to 1/4˝ scale.