
Page 175 - Enhancing CAD Drawings with Photoshop
P. 175
4386.book Page 159 Monday, November 15, 2004 3:27 PM
USING PATTERNS 159
Each of the layers from AutoCAD has been transferred to Photoshop layers. The image maintains
a precise 1/4˝ = 1´-0˝ graphic scale. The document is now prepared for enhancement in Photoshop.
Before we dive in to the section on layer style techniques, you’ll do a little prep work by creating some
useful patterns.
Using Patterns
Patterns are one of the primary tools for enhancing CAD drawings. In Photoshop, a pattern is an image
that is repeated in its application. Patterns are tiled; they are formed from a repetition of smaller
image elements called tiles. (A tile is a single unit of pattern repetition.) An image is said to be tilable
when the edges between tiles are not especially apparent in a pattern.
Real-world material samples are photographed or scanned into the computer. In this section, you
will experiment with creating and applying a basic pattern directly from a scan. Later, I’ll show you
how to use the Pattern Maker tool to generate tilable patterns. After we create some patterns, we’ll
organize them into a custom pattern library that can be reused in future projects. Finally, you’ll learn
to use several tools to apply patterns from the pattern libraries.
Creating and Applying a Basic Pattern
Defining any image as a pattern is easy. Follow these steps, and then apply the basic pattern to a blank
document.
1. Open a scan of a small sample of a walnut, the file Walnut.jpg from the companion CD.
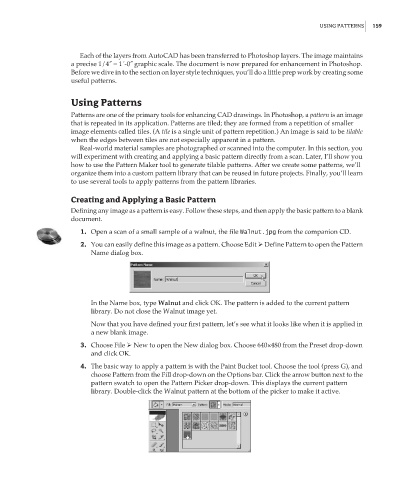
2. You can easily define this image as a pattern. Choose Edit Define Pattern to open the Pattern
Name dialog box.
In the Name box, type Walnut and click OK. The pattern is added to the current pattern
library. Do not close the Walnut image yet.
Now that you have defined your first pattern, let’s see what it looks like when it is applied in
a new blank image.
3. Choose File New to open the New dialog box. Choose 640×480 from the Preset drop-down
and click OK.
4. The basic way to apply a pattern is with the Paint Bucket tool. Choose the tool (press G), and
choose Pattern from the Fill drop-down on the Options bar. Click the arrow button next to the
pattern swatch to open the Pattern Picker drop-down. This displays the current pattern
library. Double-click the Walnut pattern at the bottom of the picker to make it active.