
Page 171 - Enhancing CAD Drawings with Photoshop
P. 171
4386.book Page 155 Monday, November 15, 2004 3:27 PM
TRANSFERRING MULTILAYER DRAWINGS TO PHOTOSHOP 155
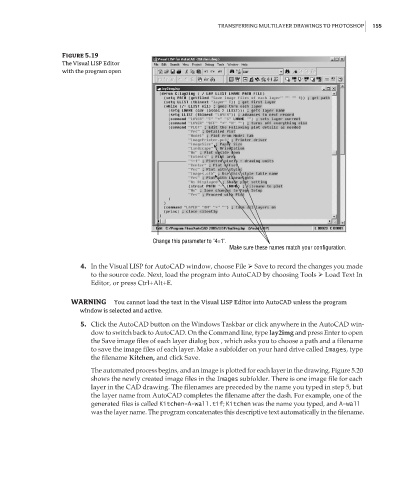
Figure 5.19
The Visual LISP Editor
with the program open
Change this parameter to "4=1".
Make sure these names match your configuration.
4. In the Visual LISP for AutoCAD window, choose File Save to record the changes you made
to the source code. Next, load the program into AutoCAD by choosing Tools Load Text In
Editor, or press Ctrl+Alt+E.
WARNING You cannot load the text in the Visual LISP Editor into AutoCAD unless the program
window is selected and active.
5. Click the AutoCAD button on the Windows Taskbar or click anywhere in the AutoCAD win-
dow to switch back to AutoCAD. On the Command line, type lay2img and press Enter to open
the Save image files of each layer dialog box , which asks you to choose a path and a filename
to save the image files of each layer. Make a subfolder on your hard drive called Images, type
the filename Kitchen, and click Save.
The automated process begins, and an image is plotted for each layer in the drawing. Figure 5.20
shows the newly created image files in the Images subfolder. There is one image file for each
layer in the CAD drawing. The filenames are preceded by the name you typed in step 5, but
the layer name from AutoCAD completes the filename after the dash. For example, one of the
generated files is called Kitchen-A-wall.tif; Kitchen was the name you typed, and A-wall
was the layer name. The program concatenates this descriptive text automatically in the filename.