
Page 91 - Enhancing CAD Drawings with Photoshop
P. 91
4386.book Page 74 Monday, November 15, 2004 3:27 PM
DIGITAL DARKROOM SKILLS
74 CHAPTER 3
6. Choose File Save As to open the Save As dialog box. Navigate to a project folder on your
hard drive, change the Format pop-up to Photoshop’s native format, and save this file as
Sidewalk.psd.
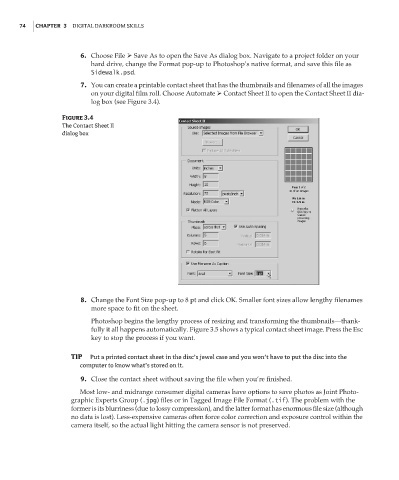
7. You can create a printable contact sheet that has the thumbnails and filenames of all the images
on your digital film roll. Choose Automate Contact Sheet II to open the Contact Sheet II dia-
log box (see Figure 3.4).
Figure 3.4
The Contact Sheet II
dialog box
8. Change the Font Size pop-up to 8 pt and click OK. Smaller font sizes allow lengthy filenames
more space to fit on the sheet.
Photoshop begins the lengthy process of resizing and transforming the thumbnails—thank-
fully it all happens automatically. Figure 3.5 shows a typical contact sheet image. Press the Esc
key to stop the process if you want.
TIP Put a printed contact sheet in the disc’s jewel case and you won’t have to put the disc into the
computer to know what’s stored on it.
9. Close the contact sheet without saving the file when you’re finished.
Most low- and midrange consumer digital cameras have options to save photos as Joint Photo-
graphic Experts Group (.jpg) files or in Tagged Image File Format (.tif). The problem with the
former is its blurriness (due to lossy compression), and the latter format has enormous file size (although
no data is lost). Less-expensive cameras often force color correction and exposure control within the
camera itself, so the actual light hitting the camera sensor is not preserved.