
Page 96 - Enhancing CAD Drawings with Photoshop
P. 96
4386c03.fm Page 79 Tuesday, November 16, 2004 7:57 AM
ADJUSTING TONAL RANGE 79
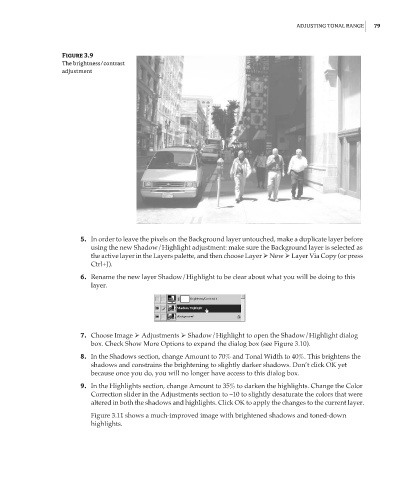
Figure 3.9
The brightness/contrast
adjustment
5. In order to leave the pixels on the Background layer untouched, make a duplicate layer before
using the new Shadow/Highlight adjustment: make sure the Background layer is selected as
the active layer in the Layers palette, and then choose Layer New Layer Via Copy (or press
Ctrl+J).
6. Rename the new layer Shadow/Highlight to be clear about what you will be doing to this
layer.
7. Choose Image Adjustments Shadow/Highlight to open the Shadow/Highlight dialog
box. Check Show More Options to expand the dialog box (see Figure 3.10).
8. In the Shadows section, change Amount to 70% and Tonal Width to 40%. This brightens the
shadows and constrains the brightening to slightly darker shadows. Don’t click OK yet
because once you do, you will no longer have access to this dialog box.
9. In the Highlights section, change Amount to 35% to darken the highlights. Change the Color
Correction slider in the Adjustments section to –10 to slightly desaturate the colors that were
altered in both the shadows and highlights. Click OK to apply the changes to the current layer.
Figure 3.11 shows a much-improved image with brightened shadows and toned-down
highlights.