
Page 95 - Enhancing CAD Drawings with Photoshop
P. 95
4386.book Page 78 Monday, November 15, 2004 3:27 PM
78 CHAPTER 3 DIGITAL DARKROOM SKILLS
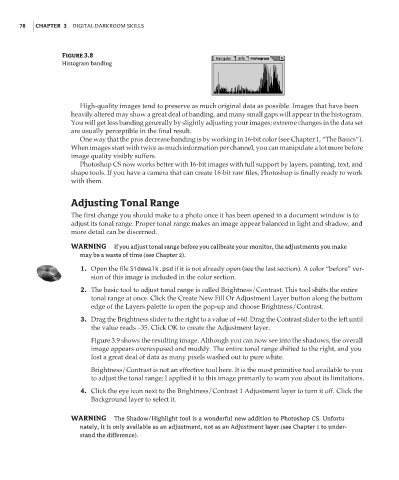
Figure 3.8
Histogram banding
High-quality images tend to preserve as much original data as possible. Images that have been
heavily altered may show a great deal of banding, and many small gaps will appear in the histogram.
You will get less banding generally by slightly adjusting your images; extreme changes in the data set
are usually perceptible in the final result.
One way that the pros decrease banding is by working in 16-bit color (see Chapter 1, “The Basics”).
When images start with twice as much information per channel, you can manipulate a lot more before
image quality visibly suffers.
Photoshop CS now works better with 16-bit images with full support by layers, painting, text, and
shape tools. If you have a camera that can create 16-bit raw files, Photoshop is finally ready to work
with them.
Adjusting Tonal Range
The first change you should make to a photo once it has been opened in a document window is to
adjust its tonal range. Proper tonal range makes an image appear balanced in light and shadow, and
more detail can be discerned.
WARNING If you adjust tonal range before you calibrate your monitor, the adjustments you make
may be a waste of time (see Chapter 2).
1. Open the file Sidewalk.psd if it is not already open (see the last section). A color “before” ver-
sion of this image is included in the color section.
2. The basic tool to adjust tonal range is called Brightness/Contrast. This tool shifts the entire
tonal range at once. Click the Create New Fill Or Adjustment Layer button along the bottom
edge of the Layers palette to open the pop-up and choose Brightness/Contrast.
3. Drag the Brightness slider to the right to a value of +60. Drag the Contrast slider to the left until
the value reads –35. Click OK to create the Adjustment layer.
Figure 3.9 shows the resulting image. Although you can now see into the shadows, the overall
image appears overexposed and muddy. The entire tonal range shifted to the right, and you
lost a great deal of data as many pixels washed out to pure white.
Brightness/Contrast is not an effective tool here. It is the most primitive tool available to you
to adjust the tonal range; I applied it to this image primarily to warn you about its limitations.
4. Click the eye icon next to the Brightness/Contrast 1 Adjustment layer to turn it off. Click the
Background layer to select it.
WARNING The Shadow/Highlight tool is a wonderful new addition to Photoshop CS. Unfortu-
nately, it is only available as an adjustment, not as an Adjustment layer (see Chapter 1 to under-
stand the difference).