
Page 200 - Mastering SolidWorks
P. 200
|
Using the DisplayManageR 169
SolidWorks scenes can be either document or system property. Document property is the
default. This means that each document can have a different scene, and the scene will travel with
the document when opened by different users. You can override the default with a system
option, Tools ➢ Options ➢ Colors, and change the Background Appearance setting to Plain,
Gradient, or Image, which gives control of the scene to the local computer. When a document
that has been saved with a document scene is opened on a computer set to use system scenes, the
system setting overrides the document setting.
If you right-click on the Scene folder in the SceneManager, SolidWorks will prompt you with a
message to change any system scene setting to the document scene.
Turning on the Lights
All models have ambient light. (If there were no light, you wouldn’t be able to see the model.)
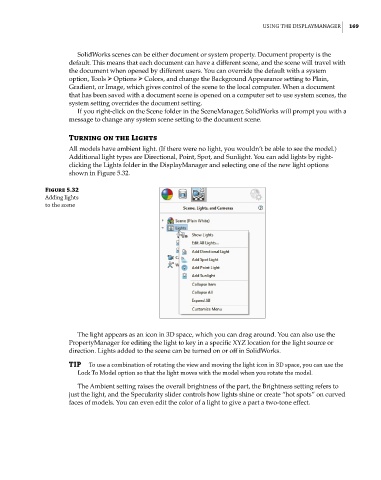
Additional light types are Directional, Point, Spot, and Sunlight. You can add lights by right-
clicking the Lights folder in the DisplayManager and selecting one of the new light options
shown in Figure 5.32.
Figure 5.32
adding lights
to the scene
The light appears as an icon in 3D space, which you can drag around. You can also use the
PropertyManager for editing the light to key in a specific XYZ location for the light source or
direction. Lights added to the scene can be turned on or off in SolidWorks.
TIP to use a combination of rotating the view and moving the light icon in 3D space, you can use the
lock to Model option so that the light moves with the model when you rotate the model.
The Ambient setting raises the overall brightness of the part, the Brightness setting refers to
just the light, and the Specularity slider controls how lights shine or create “hot spots” on curved
faces of models. You can even edit the color of a light to give a part a two-tone effect.