
Page 239 - Mastering SolidWorks
P. 239
|
210 CHAPTER 6 GettinG More froM Your SketcheS
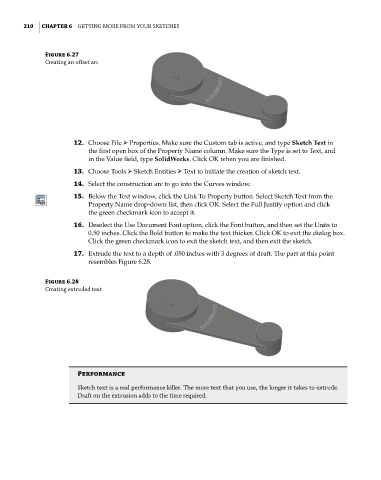
Figure 6.27
creating an offset arc
12. Choose File ➢ Properties. Make sure the Custom tab is active, and type Sketch Text in
the first open box of the Property Name column. Make sure the Type is set to Text, and
in the Value field, type SolidWorks. Click OK when you are finished.
13. Choose Tools ➢ Sketch Entities ➢ Text to initiate the creation of sketch text.
14. Select the construction arc to go into the Curves window.
15. Below the Text window, click the Link To Property button. Select Sketch Text from the
Property Name drop-down list, then click OK. Select the Full Justify option and click
the green checkmark icon to accept it.
16. Deselect the Use Document Font option, click the Font button, and then set the Units to
0.50 inches. Click the Bold button to make the text thicker. Click OK to exit the dialog box.
Click the green checkmark icon to exit the sketch text, and then exit the sketch.
17. Extrude the text to a depth of .050 inches with 3 degrees of draft. The part at this point
resembles Figure 6.28.
Figure 6.28
creating extruded text
Performance
Sketch text is a real performance killer. the more text that you use, the longer it takes to extrude.
Draft on the extrusion adds to the time required.