
Page 151 - PDA Robotics Using Your Personal Digital Assistant to Control Your Robot
P. 151
PDA 06 5/27/03 8:37 AM Page 127
Chapter 6 / Building PDA Robot
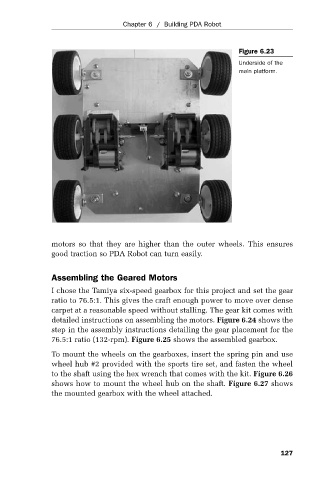
Figure 6.23
Underside of the
main platform.
motors so that they are higher than the outer wheels. This ensures
good traction so PDA Robot can turn easily.
Assembling the Geared Motors
I chose the Tamiya six-speed gearbox for this project and set the gear
ratio to 76.5:1. This gives the craft enough power to move over dense
carpet at a reasonable speed without stalling. The gear kit comes with
detailed instructions on assembling the motors. Figure 6.24 shows the
step in the assembly instructions detailing the gear placement for the
76.5:1 ratio (132-rpm). Figure 6.25 shows the assembled gearbox.
To mount the wheels on the gearboxes, insert the spring pin and use
wheel hub #2 provided with the sports tire set, and fasten the wheel
to the shaft using the hex wrench that comes with the kit. Figure 6.26
shows how to mount the wheel hub on the shaft. Figure 6.27 shows
the mounted gearbox with the wheel attached.
127