
Page 100 - The Ultimate Palm Robot
P. 100
Color profile: Generic CMYK printer profile
Composite Default screen
Bots /The Ultimate Palm Robot/ Mukhar & Johnson / 222880-6 / Chapter 4
Chapter 4 Using Palm VIIs and Handspring Visors 83
4. Insert the metal clips into the housing.
5. Insert the circuit board into the housing.
6. Assemble the connector.
If all goes well, at this point, you will have a cable with a Visor connector at
one end and unattached wire at the other end, as shown here.
Connecting the Cable to a DB9 Male Connector
Start by cutting the cable approximately 18 inches from the Visor connector. If
you have an actual Visor serial cable that you are modifying, you will need to
find the wires in the cable that correspond to pins 1, 4, and 8 in the Visor con-
nector. If you built your own connector, you may already know which wire is
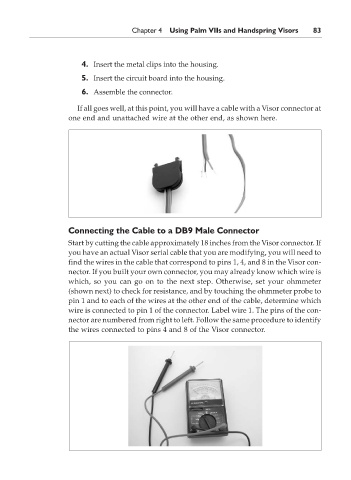
which, so you can go on to the next step. Otherwise, set your ohmmeter
(shown next) to check for resistance, and by touching the ohmmeter probe to
pin 1 and to each of the wires at the other end of the cable, determine which
wire is connected to pin 1 of the connector. Label wire 1. The pins of the con-
nector are numbered from right to left. Follow the same procedure to identify
the wires connected to pins 4 and 8 of the Visor connector.
P:\010Comp\Bots\880-6\ch04.vp
Monday, May 12, 2003 4:03:08 PM