
Page 98 - Amphibionics : Build Your Own Biologically Inspired Robot
P. 98
Amphibionics 04 3/24/03 8:23 AM Page 77
Chapter 4 / Frogbotic: Build Your Own Robotic Frog
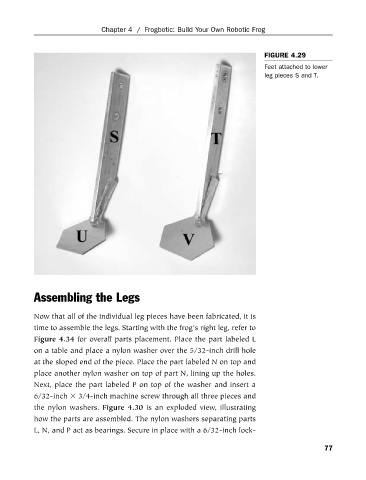
FIGURE 4.29
Feet attached to lower
leg pieces S and T.
Assembling the Legs
Now that all of the individual leg pieces have been fabricated, it is
time to assemble the legs. Starting with the frog’s right leg, refer to
Figure 4.34 for overall parts placement. Place the part labeled L
on a table and place a nylon washer over the 5/32-inch drill hole
at the sloped end of the piece. Place the part labeled N on top and
place another nylon washer on top of part N, lining up the holes.
Next, place the part labeled P on top of the washer and insert a
6/32-inch 3/4-inch machine screw through all three pieces and
the nylon washers. Figure 4.30 is an exploded view, illustrating
how the parts are assembled. The nylon washers separating parts
L, N, and P act as bearings. Secure in place with a 6/32-inch lock-
77