
Page 102 - Enhancing CAD Drawings with Photoshop
P. 102
4386.book Page 85 Monday, November 15, 2004 3:27 PM
BALANCING COLOR 85
10. Press Shift+I until you see the Color Sampler tool in the toolbox.
11. On the options bar, change the Sample Size pop-up to 3 by 3 Average. This allows you to
take a more representative color sample of a tiny area by averaging across 9 pixels.
12. Click to place a sampler in the center man’s shadow, which is one of the darkest areas in
the image.
13. Double-click the Threshold layer thumbnail and drag the arrow all the way to the right. The
image turns pure black. Then drag the arrow slowly to the left until some white areas appear
in the document window; these areas are the brightest in the image. Click OK.
14. Choose the Color Sampler tool again, and click the minivan’s hood to place your second sampler.
This locates the brightest part of the image.
15. Turn the Threshold 1 layer off. This adjustment layer was used only to identify the brightest
and darkest areas of the image and is no longer needed after you have placed both samplers.
You can optionally delete this layer if you prefer.
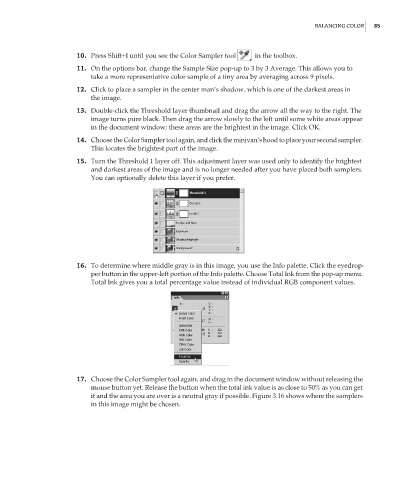
16. To determine where middle gray is in this image, you use the Info palette. Click the eyedrop-
per button in the upper-left portion of the Info palette. Choose Total Ink from the pop-up menu.
Total Ink gives you a total percentage value instead of individual RGB component values.
17. Choose the Color Sampler tool again, and drag in the document window without releasing the
mouse button yet. Release the button when the total ink value is as close to 50% as you can get
it and the area you are over is a neutral gray if possible. Figure 3.16 shows where the samplers
in this image might be chosen.