
Page 145 - Enhancing CAD Drawings with Photoshop
P. 145
4386.book Page 128 Monday, November 15, 2004 3:27 PM
128 CHAPTER 4 YOU AND YOUR ENTOURAGE
4. Adjust the opacity of the tree layer to 85% to account for more translucency through the decid-
uous leaves; this also allows a bit more of the building to show through the canopy.
When you start to have multiple layers of entourage, you can arrange the layers on top of each
other, much as you arrange cutout photos in a montage.
5. Select the WomanFront layer in the Layers palette. Choose Layer Arrange Bring Forward,
or press Ctrl+]. You can also drag layers around in the palette. The top layer will be on top of
the montage.
The tree could also benefit from a drop shadow. However, to make more realistic shadows, it
is helpful to liberate the shadow from the layer style that generated it, by converting it from a
layer style to a layer. Then, you can transform the shadow independently of the tree for more
advanced effects.
6. Select the Tree layer in the Layers palette. Click the Add A Layer Style button and choose Drop
Shadow from the menu. In the Layer Style dialog box, change Opacity to 50%, Distance to 0
pixels, and Size to 1 pixel for a slight blurring of the shadow edge. Click OK. The shadow is
directly under the tree because you set Distance to 0 pixels.
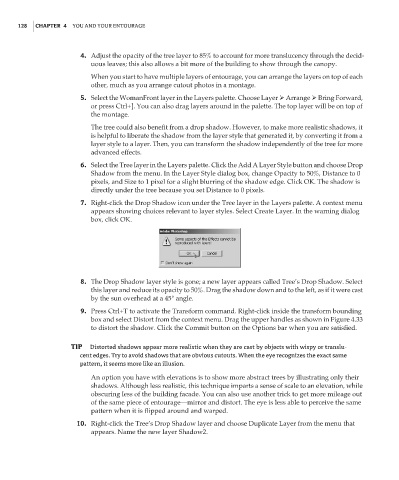
7. Right-click the Drop Shadow icon under the Tree layer in the Layers palette. A context menu
appears showing choices relevant to layer styles. Select Create Layer. In the warning dialog
box, click OK.
8. The Drop Shadow layer style is gone; a new layer appears called Tree’s Drop Shadow. Select
this layer and reduce its opacity to 50%. Drag the shadow down and to the left, as if it were cast
by the sun overhead at a 45° angle.
9. Press Ctrl+T to activate the Transform command. Right-click inside the transform bounding
box and select Distort from the context menu. Drag the upper handles as shown in Figure 4.33
to distort the shadow. Click the Commit button on the Options bar when you are satisfied.
TIP Distorted shadows appear more realistic when they are cast by objects with wispy or translu-
cent edges. Try to avoid shadows that are obvious cutouts. When the eye recognizes the exact same
pattern, it seems more like an illusion.
An option you have with elevations is to show more abstract trees by illustrating only their
shadows. Although less realistic, this technique imparts a sense of scale to an elevation, while
obscuring less of the building facade. You can also use another trick to get more mileage out
of the same piece of entourage—mirror and distort. The eye is less able to perceive the same
pattern when it is flipped around and warped.
10. Right-click the Tree’s Drop Shadow layer and choose Duplicate Layer from the menu that
appears. Name the new layer Shadow2.